Shield Liger - Build-log/Assembly review - Comparisons - Gallery - Breakage Log
Finally! A Perfect-Grade equivalent for Zoids! *loves upon*
Want HQ manual scans? 'Course you do:
Cover Х
Page 2 (Introduction, history of the Shield Liger) Х
Page 3 (Variations, official art) Х
Page 4 (Armaments) Х
Page 5 (Head, cockpit) Х
Page 6 (Kit contents, warnings) Х
Page 7 (Assembly: Head) Х
Page 8 (Assembly: Chest) Х
Page 9 (Assembly: Chest/Waist) Х
Page 10 (Assembly: Waist) Х
Page 11 (Assembly: Body, Tail) Х
Page 12 (Assembly: Front legs) Х
Page 13 (Assembly: Back legs) Х
Page 14 (Assembly: Sticking it all together) Х
Page 15 (Movable Parts) Х
Pages 16-17 (Movement, details) Х
Page 18 (Painting guide) Х
Page 19 (Decal placement) Х
Back Cover
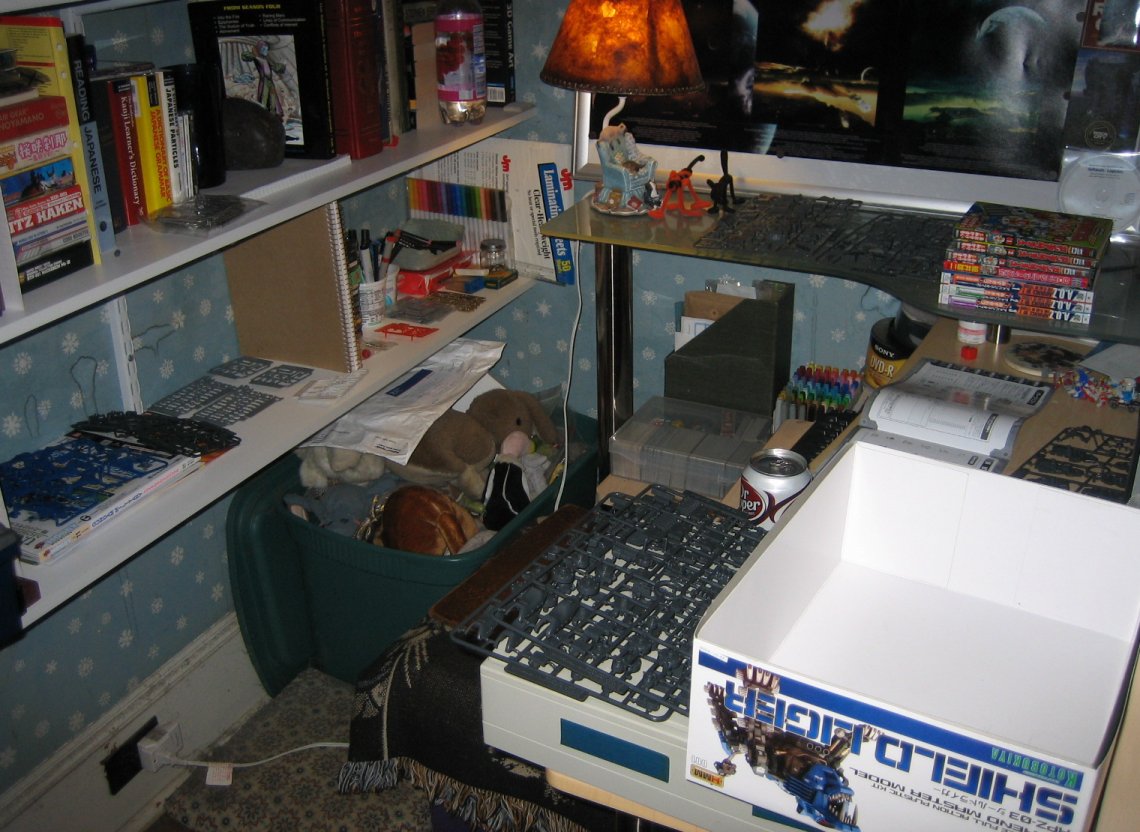
аааааааааааа
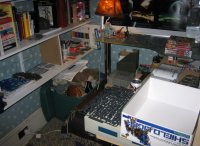
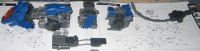
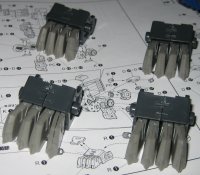
With the many frames scattered but within easy reach, and armed with five cans of Diet Dr. Pepper, I begin!!
аааааааааааа

аааааааааааа
аааааааааааа
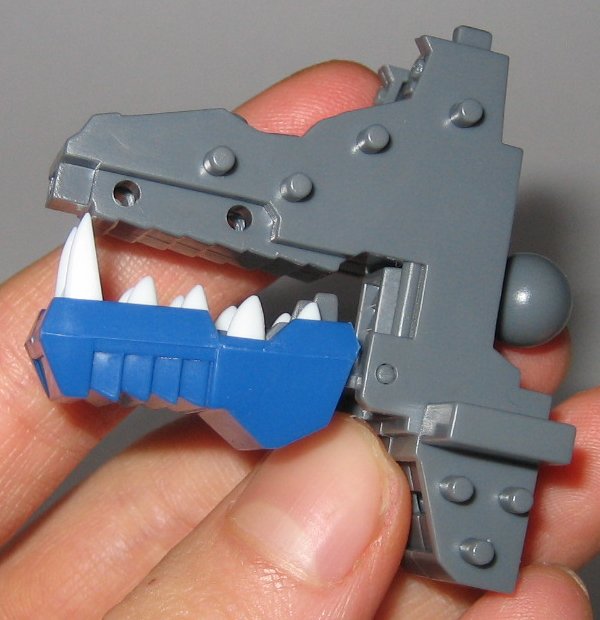
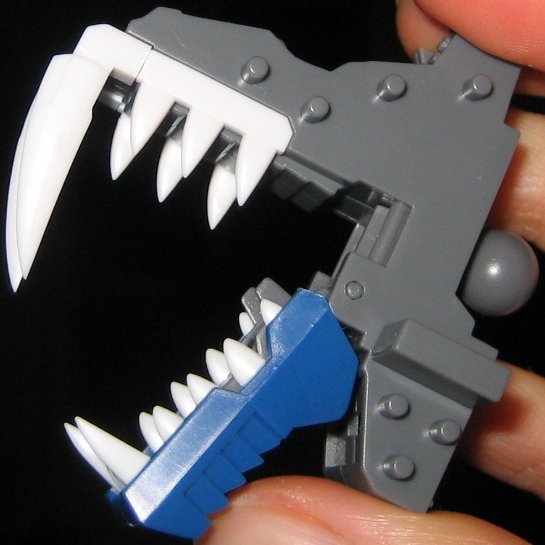
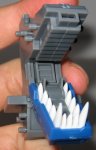
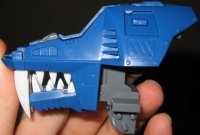
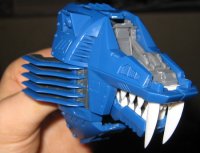
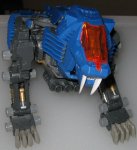
OMG TEETH
аааааааааааа

аааааааааааа

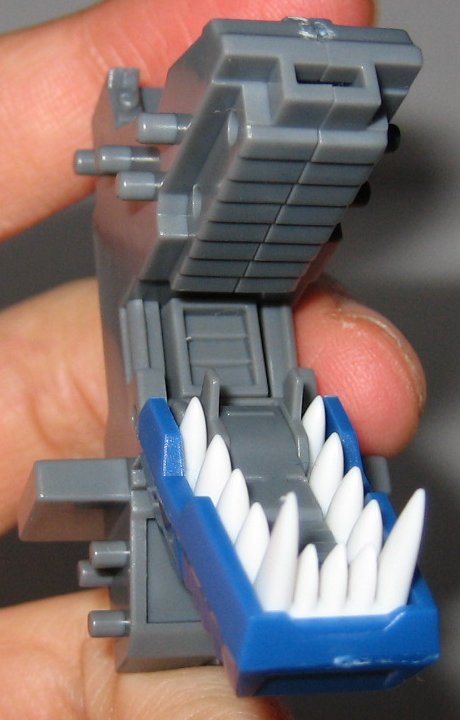
Yes, I am way too obsessed with the teeth. BUT THEY'RE SO AWESOME! Far and away the best jaws of any cat-Zoid.
аааааааааааа
аааааааааааа
аааааааааааа
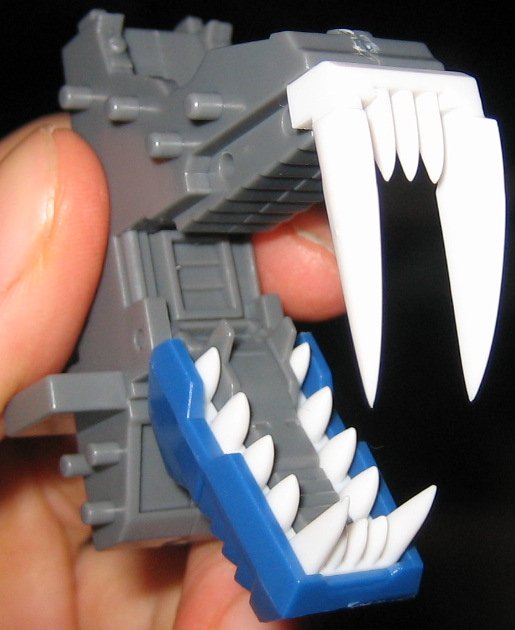
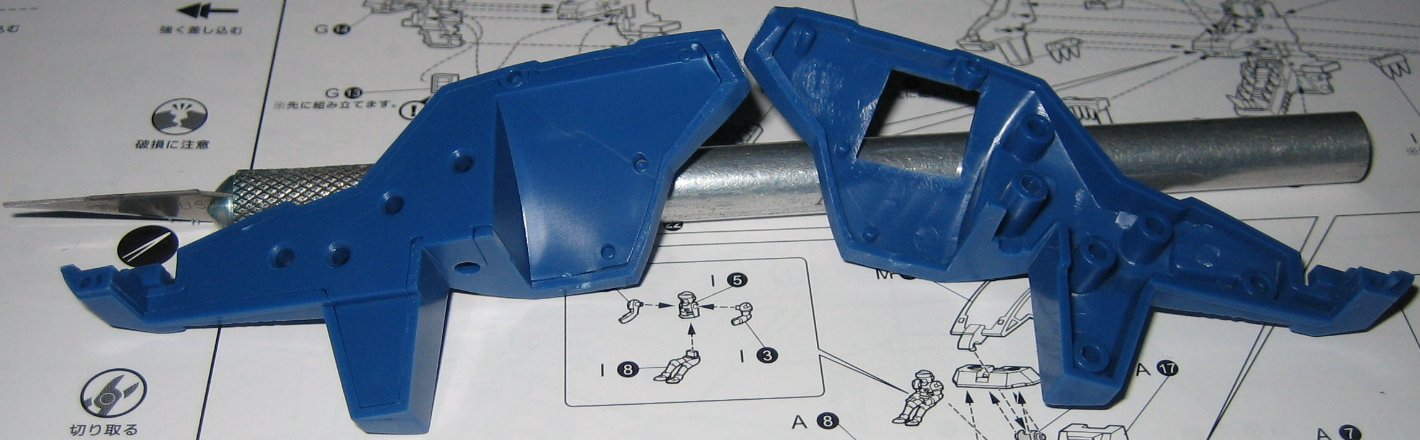
Unlike most cat-Zoids, the head isn't a huge pain to put together! Shock and amazement!
аааааааааааа
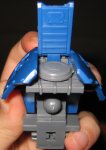
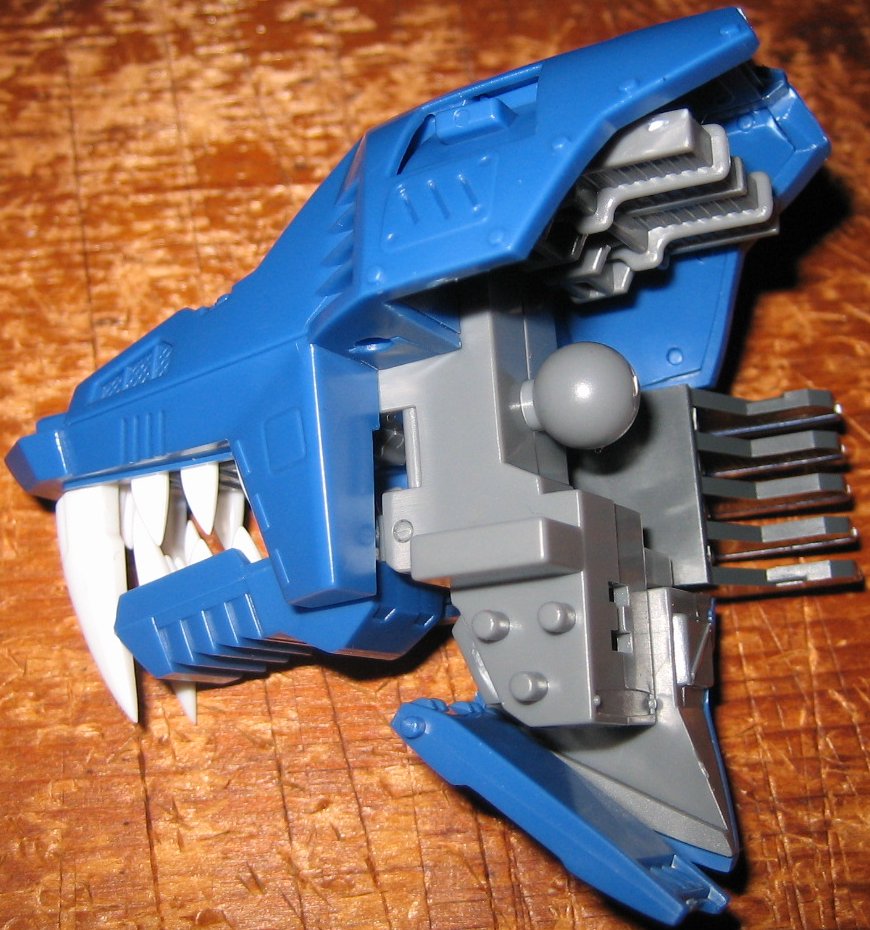
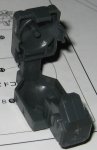
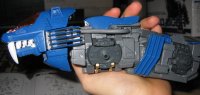
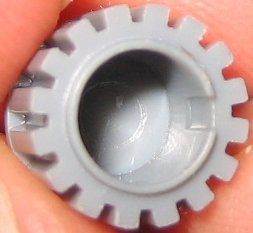
Here's the back of the head, showing a shield-generation component.
аааааааааааа
аааааааааааа
аааааааааааа

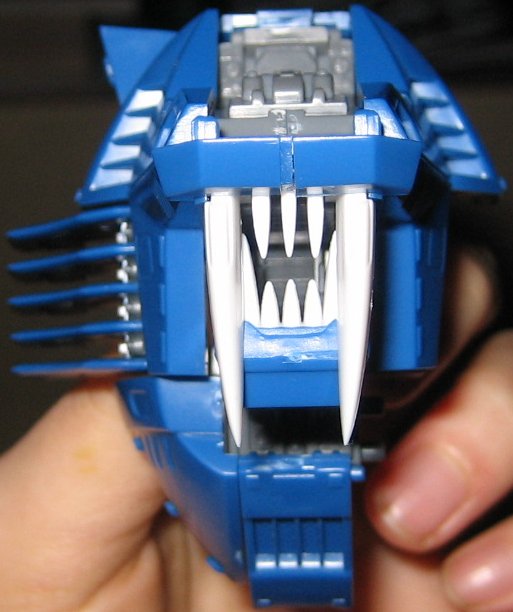
Half-assembled head...
аааааааааааа
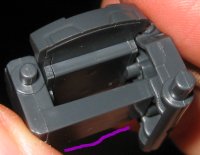
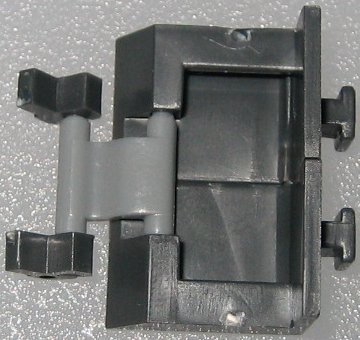
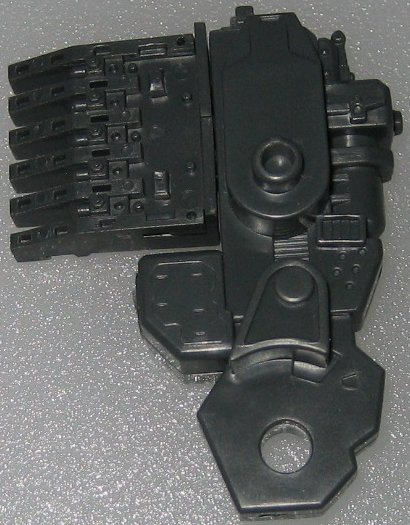
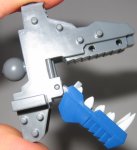
Shoulder joint.
...I was gonna point out something here, but I can't remember what it was... Well, darn.
аааааааааааа
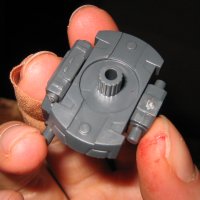
More shoulder joint.
I didn't even notice my thumb was all bloody when I took this photo. ._.; Those cuts still haven't healed. >.>;; -seven days later-
аааааааааааа

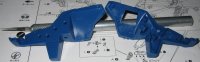
I have one word for that part, repeated numerous times.
HATE HATE HATE HATE HATE HATE HATE. *flails*
After much flailing around (this Zoid is NOT poor-coordination-friendly), I finally asked my dad to do it. He had to do some calculated trimming on the pegs and the polycaps before it'd go on, and those parts are NEVER coming apart ever again. XP
(Seriously, I don't think I could get it apart even if I tried.)
Anyway, the polycap-plastic is too weak for simple mashing-of-parts. You have to be careful and not flail around like I do, or else they'll twist and get weakened. It's the only weak plastic in this kit; despite how much force I applied to some of these parts, nothing fatigued.
аааааааааааа
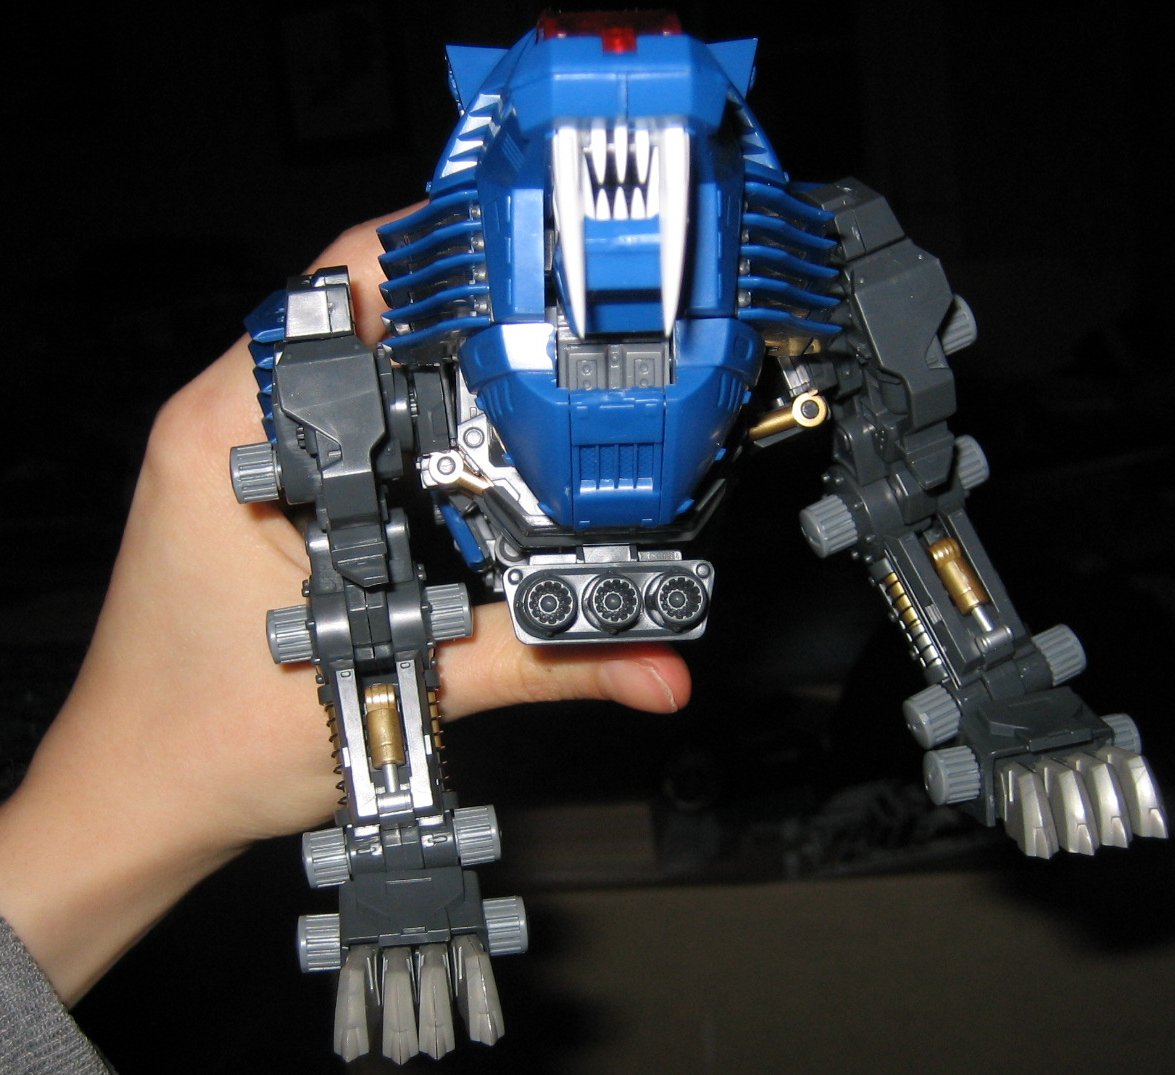
AHAHAHA VICTORY.
аааааааааааа

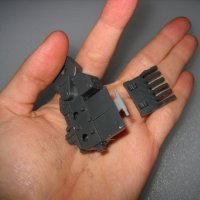
Gaaaah too small >.<
I ended up losing one, too. Fortunately, just eye-candy, and not something important. There is not much leeway if you lose a vital piece.
аааааааааааа
аааааааааааа
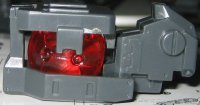
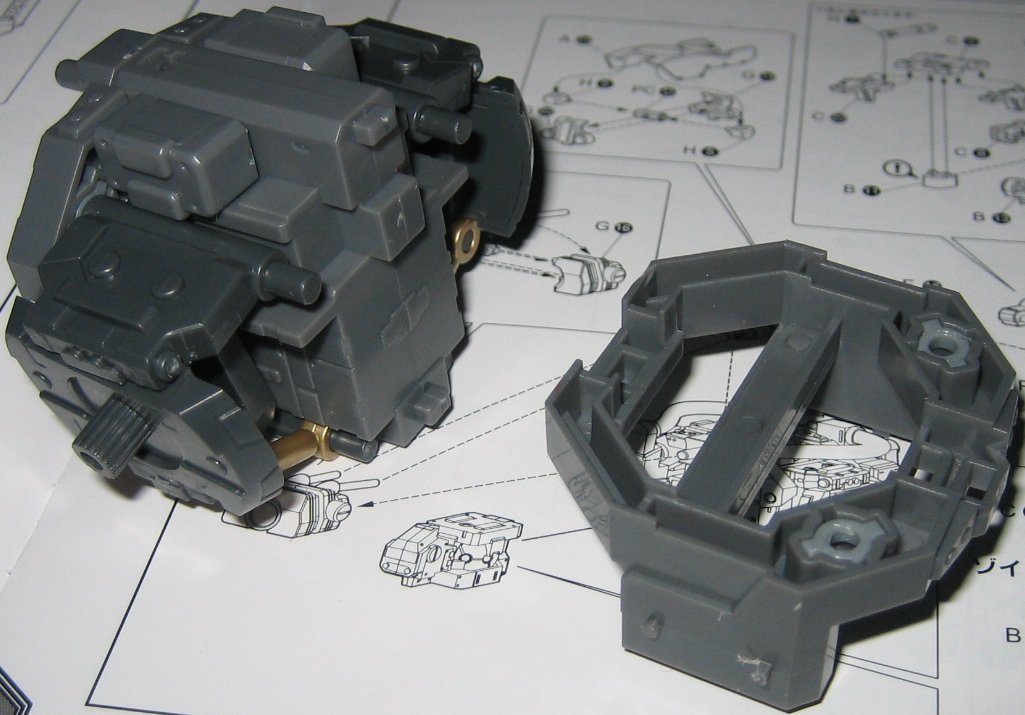
Zoid Core!
аааааааааааа
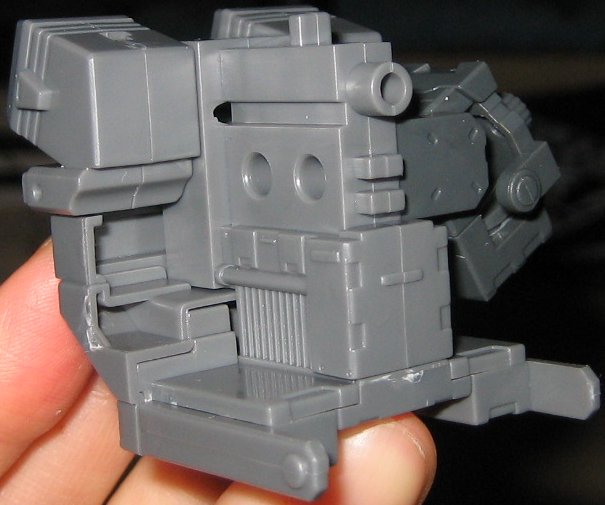
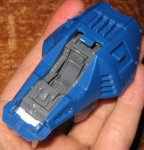
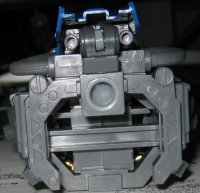
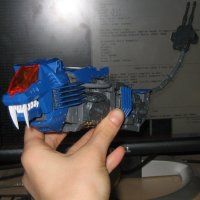
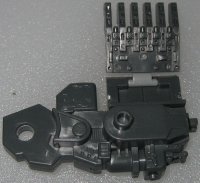
Front of the first body-segment; you can see the Zoid core here. The peg at the top is where the neck attaches.
аааааааааааа
Neck attached! I had to shave the ball-joint on the Liger's head to make it fit, though.
аааааааааааа
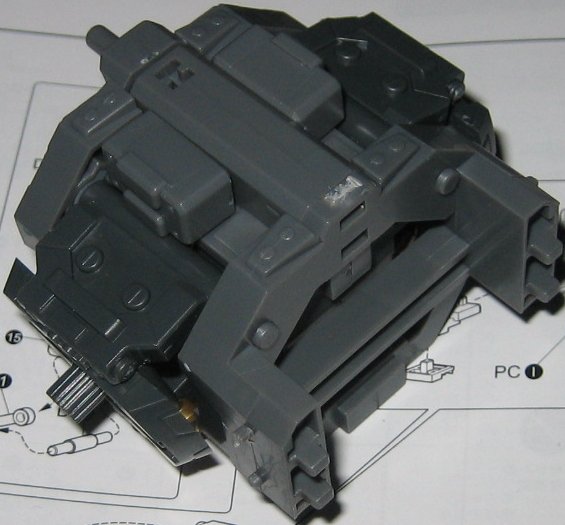
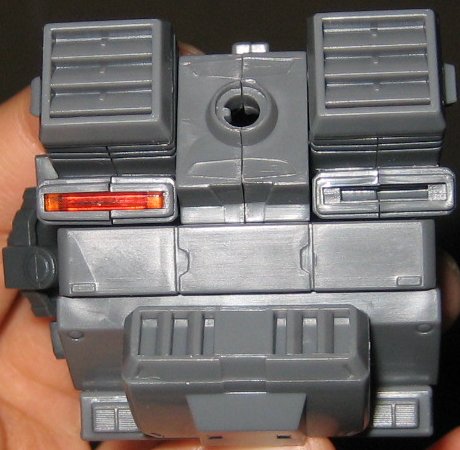
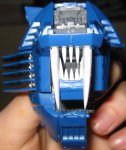
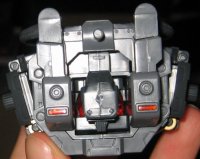
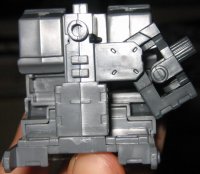
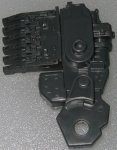
The back of the first body-segment.
аааааааааааа

Guns!
аааааааааааа

аааааааааааа
аааааааааааа
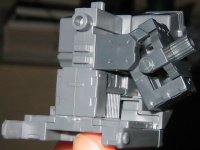
Waist-frame, plus one of the joints...
аааааааааааа
It twists~
аааааааааааа

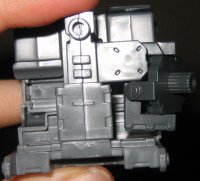
Its rear. The other orange piece spun away from my knife when I cut it out and is now lost to the dusty depths of my floor.. >_>;
аааааааааааа
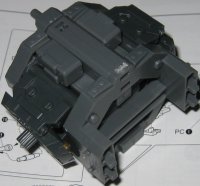
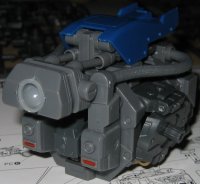
My progress by the end of the first day! That was four hours of work.
аааааааааааа
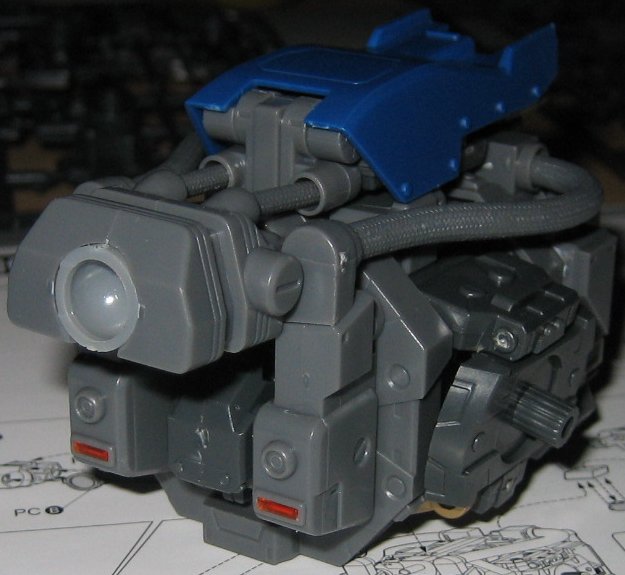
All the body is together! Had to shave down the widest parts of each ball-joint in order to fit them in.
аааааааааааа
аааааааааааа
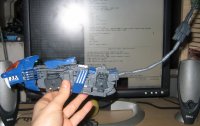
The legless 'eel-liger' amuses me to no end.
аааааааааааа
аааааааааааа

Progress shot at the end of the second day. Feetsies!
It might not seem like a lot, but I managed to spend four hours on the kit today, too.
Most of the third day I spent out in a semi-local city, getting stuff like a new cutting board. :D
аааааааааааа
When assembling the main two pieces, don't worry if you accidentally trim off a peg while thinking it's a shred of plastic. It'll still hold strongly... I know this from experience. ^^;
аааааааааааа
аааааааааааа
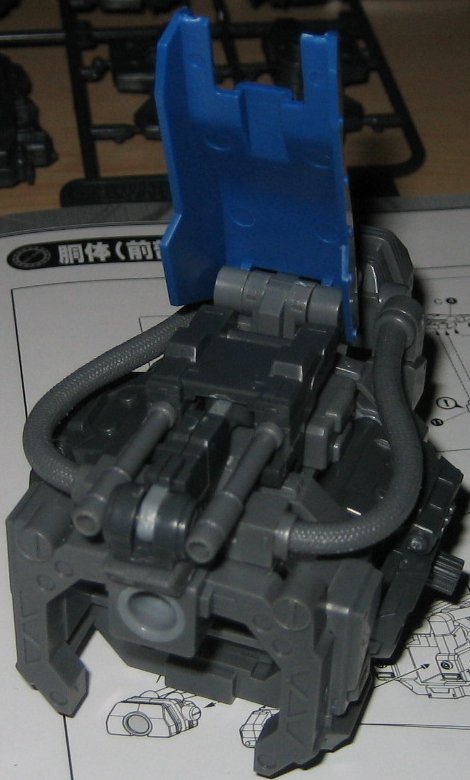
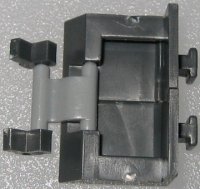
The armor-hinge is pretty neat.
аааааааааааа
Rather than follow the directions to the letter, you may find it easier to attach one or both hooks to the other piece first.
аааааааааааа
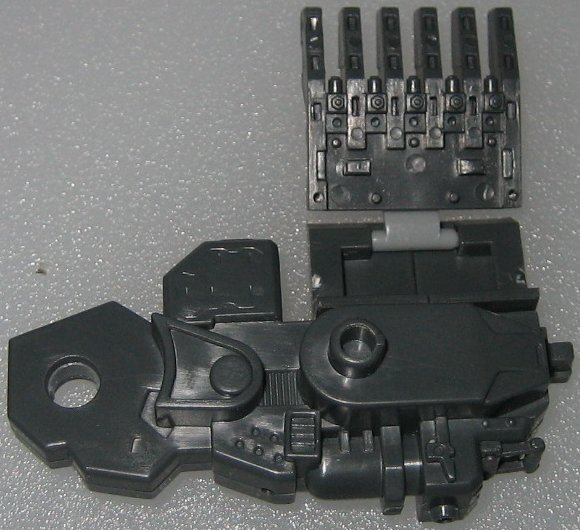
Yay front legs!
аааааааааааа
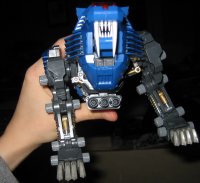
JOINTS! Check out their majesty!
Oh yeah, that's the end of the third day's progress, too.
аааааааааааа
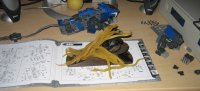
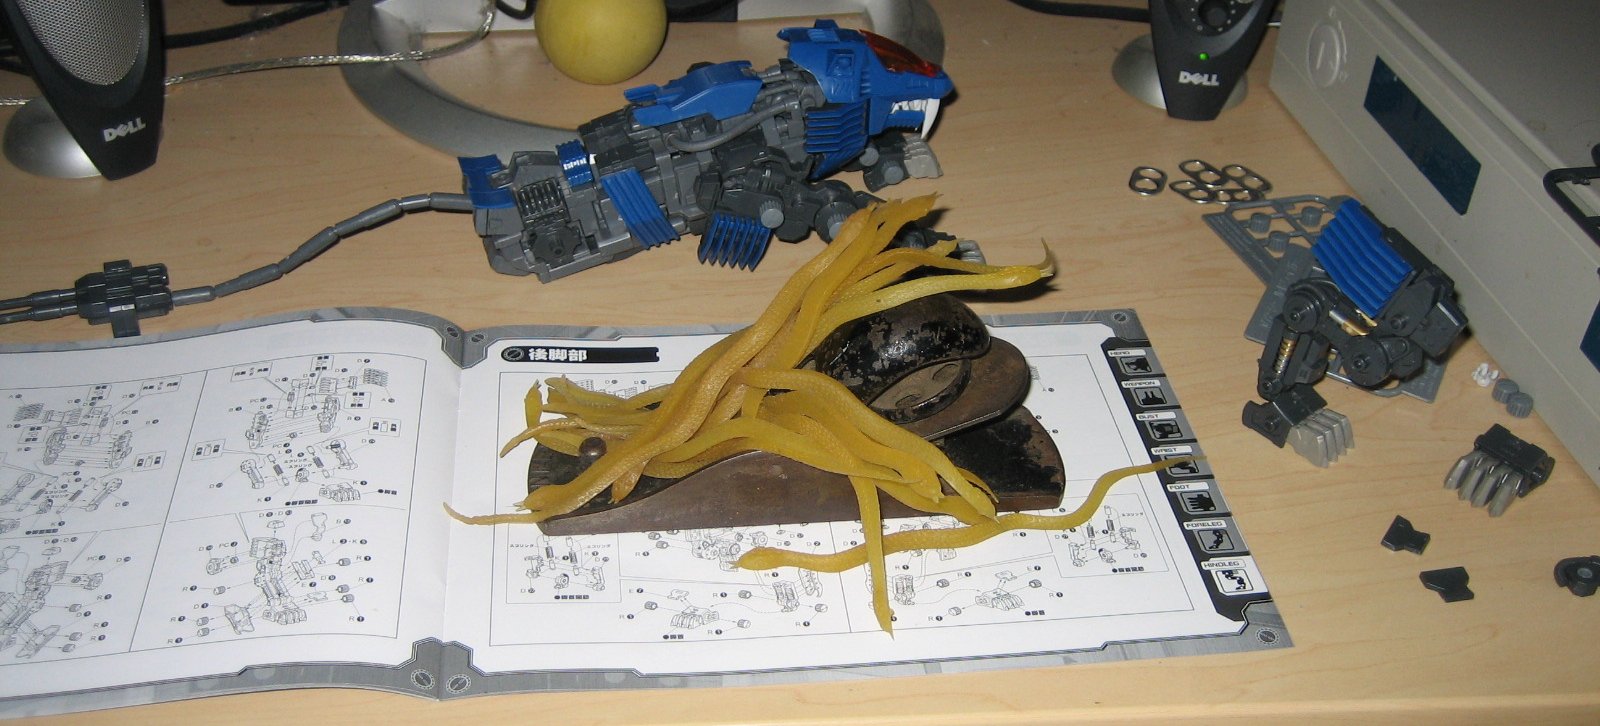
I wake up the next day to find my desk has been taken over by snakes on a plane.
аааааааааааа

аааааааааааа
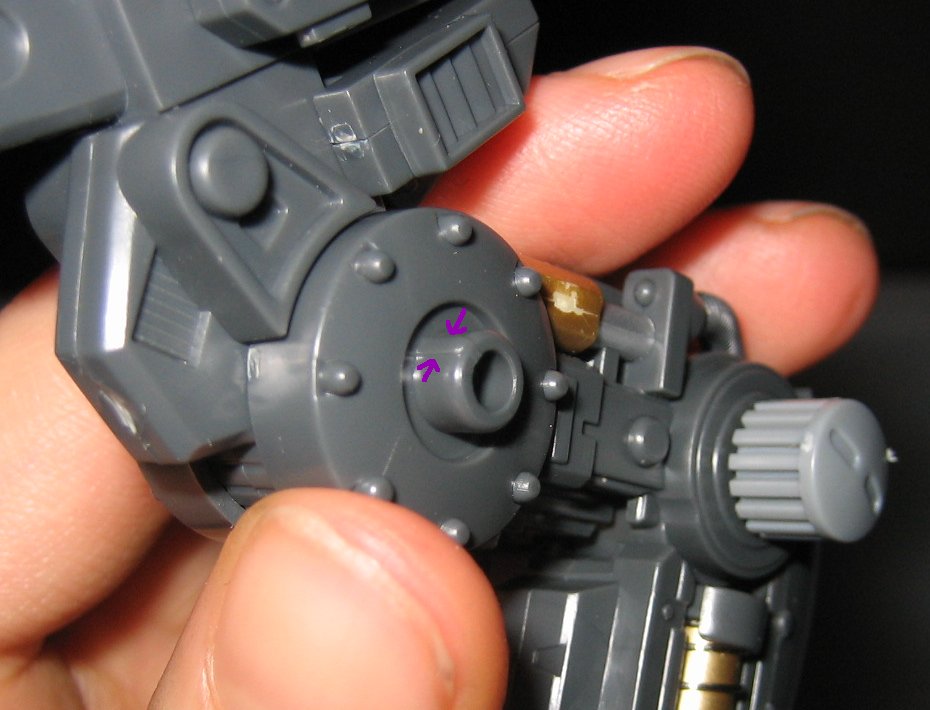
A Good Thing To Know: On the pegs for caps, there is a ridge, as pointed out in the picture. On each cap, there is a corresponding groove. Remember that. :D
аааааааааааа

All that was left for this day was the back legs, and those aren't particularly exciting in assembly, photograph-wise. Or at least I presume so, since I didn't take any more photos until it was complete~
I forget stuff too easily.
аааааааааааа
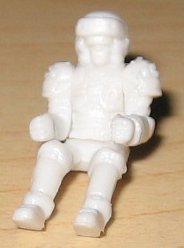
Like the pilot. XD; Even this little guy needed assembly!!
аааааааааааа

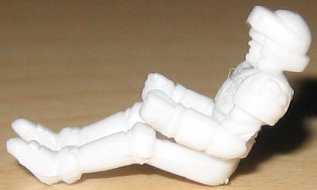
Compared with a Hasbro/Tomy Republican pilot.
So for totals; I started at 11PM on January 4th, and ended at 12:23AM on January 8th. Spent 12 hours in assembly.
Additional notes~: afgjaldgj AWESOME. Your fingers will hurt (and possibly bleed) and you'll want to stab uncooperative pieces, but the result is SO WORTH IT. <3 <3 <3
Home | Portal | Zoids | stardroidjupiter@gmail.com