Geno Saurer - Build-log/Assembly review - Comparisons - Gallery - HLJ Page
аааааааааааа
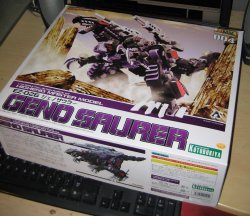
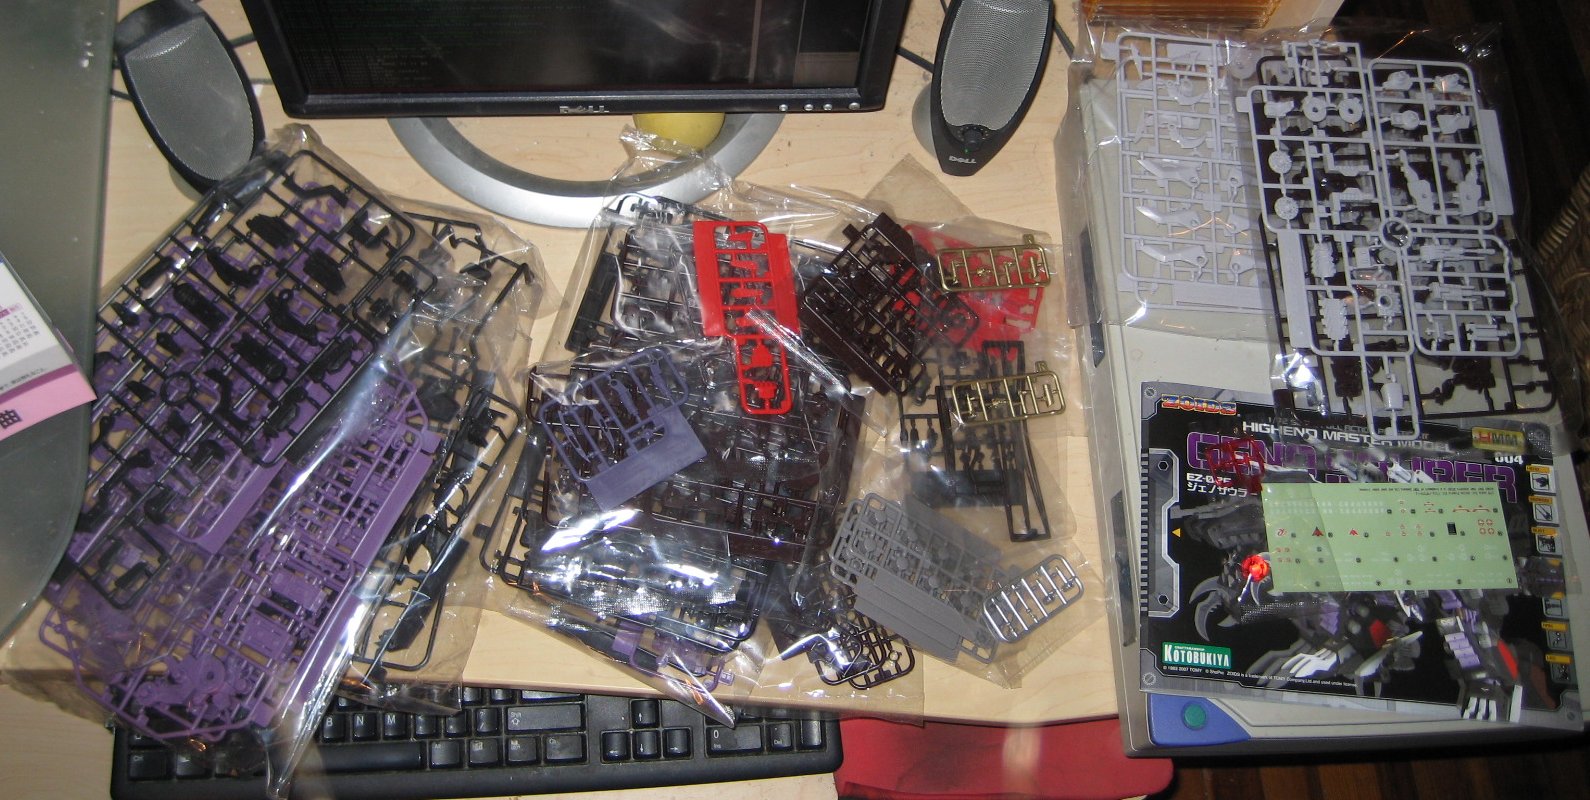
HUGEish BOX its dimensions are like 16 x 13 x 5 inches. HLJ had to partially disassemble the box it was going to ship in just so it'd fit.
аааааааааааа

аааааааааааа

аааааааааааа

Too big to scan. :<
аааааааааааа
аааааааааааа

[18:11:52] * Talec is now known as Tal|GenoSaurerAssembly
[18:12:39] <Hazel> see you in 12 hours
[18:12:57] <Tal|GenoSaurerAssembly> nah, the Shield Liger took 12 hours
[18:13:06] <Tal|GenoSaurerAssembly> this'll be longer D;
[18:25:17] <Hazel> ...oh.
[19:05:53] <Tal|GenoSaurerAssembly> okay so
[19:06:00] <Tal|GenoSaurerAssembly> the frame count goes from A
[19:06:02] <Tal|GenoSaurerAssembly> through W.
[19:06:09] <Tal|GenoSaurerAssembly> plus three PVC sheets
[19:06:16] <Hazel> ...lol
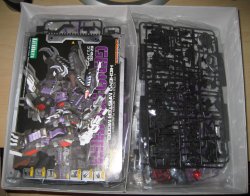
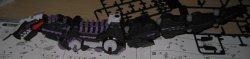
Forgive me that I don't have a detailed contents-shot, now you know why. XD 37 sprues!
аааааааааааа
аааааааааааа
Okay, an hour later and some help from dad (he put the eyes in)!
аааааааааааа

аааааааааааа
аааааааааааа

And step 1's a wrap!
This is going to take a while.
[21:07:59] <Tal|GenoSaurerAssembly> okay, I'm done with step 1 now.
[21:09:14] <Tal|GenoSaurerAssembly> breaktime for some food!
[21:17:13] <Hazel> ..you're just now done with step one what.
[21:38:41] <Tal|GenoSaurerAssembly> yep :|
[21:41:21] <Hazel> how many steps are there?
[21:43:15] <Tal|GenoSaurerAssembly> 40 :'D
[21:45:31] <Hazel> ..
First day's progress!
аааааааааааа
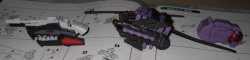
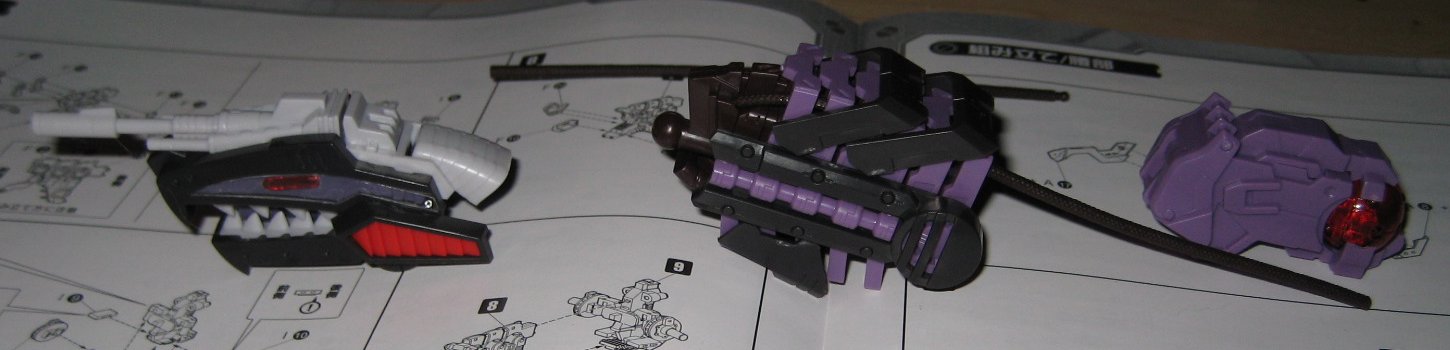
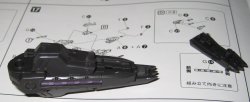
Why is there a cable lying on the manual? Because I lost the piece (I23) that attaches it to the neck. T_T
Next day!
аааааааааааа

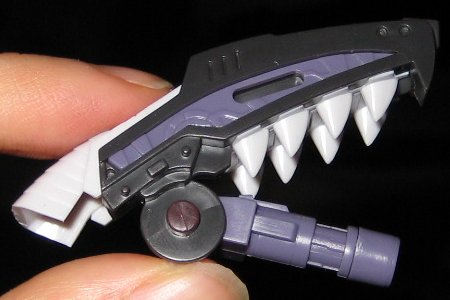
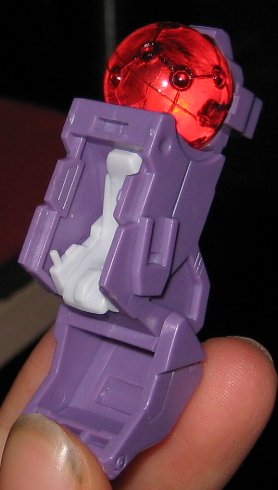
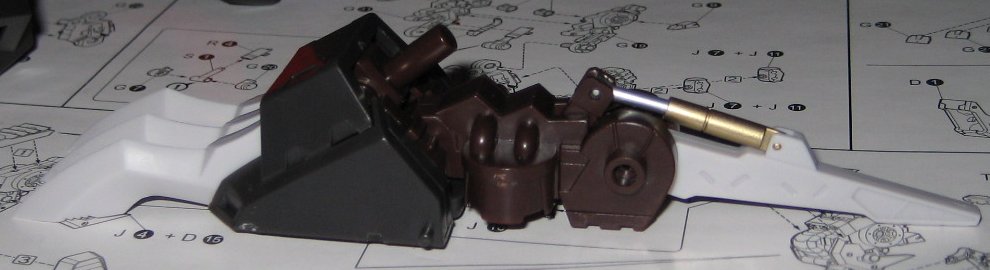
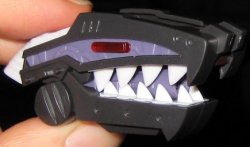
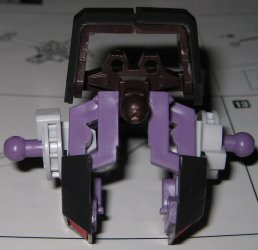
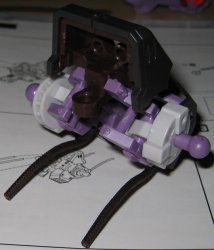
Cockpit and Zoidcore!
The direction that these cables are supposed to go isn't very clear in the manual, so here:
аааааааааааа


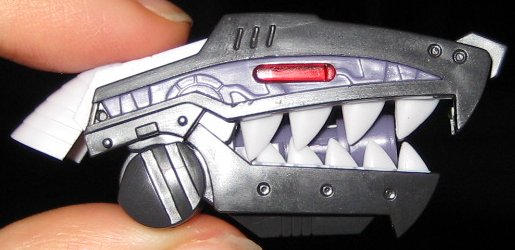
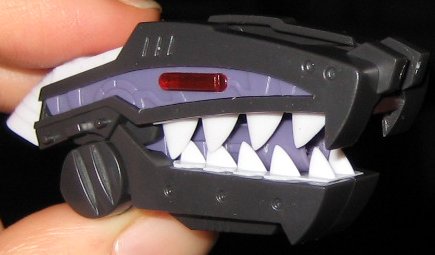
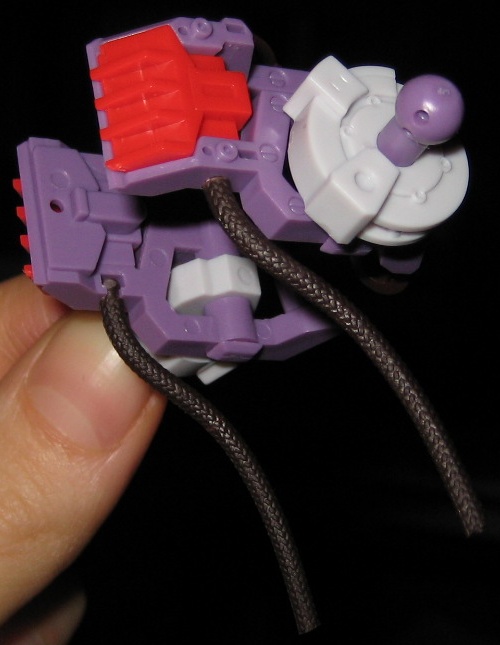
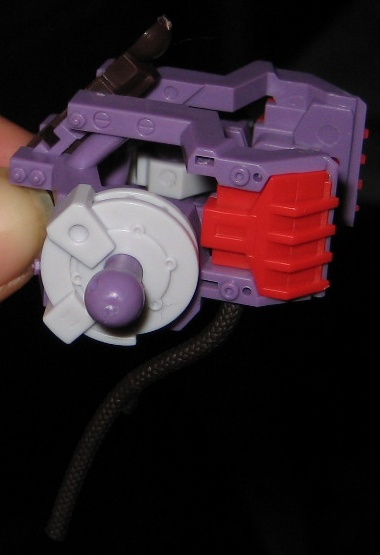
Press down on A24 & A26 until they snap past the red vents, so they look like this:
аааааааааааа

Otherwise they (the A parts) will tend to fall off.
You may find it easier to attach K2 & A3/I3+A4/I2 separately from I15, instead of doing them as a whole unit:
аааааааааааа

You can detach the shoulder-joints from K5 first if you want, as well.
Step 6 complete!
аааааааааааа

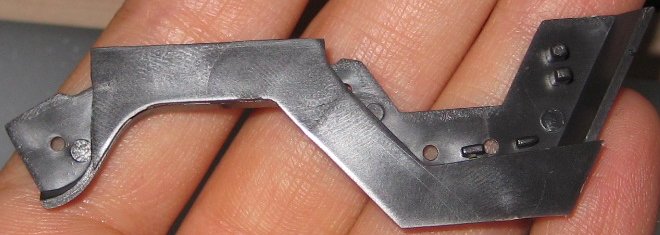
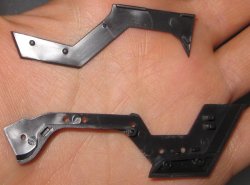
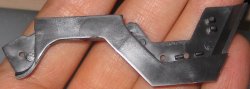
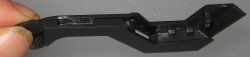
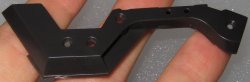
Be very careful cutting and trimming I19 & I20, their tiny pointy bits fatigue easily:
аааааааааааа
How do A15+A17 & A8+A14 go together? Here is some visual aid:
аааааааааааа
аааааааааааа

More on step 11!
аааааааааааа
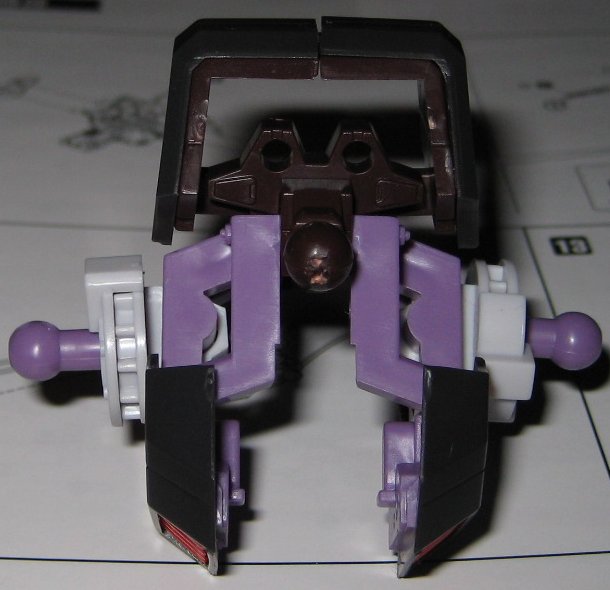
There's a lot of connections to check, when attaching O9/A13 & O7/A20 parts:
Х F15, which just sits on top without its O/A parts
Х The L-shaped peg on F22 (at the front)
Х The brown rectangular peg in the middle of the side
Х The two small pegs on the O-part fit into the A8/A14-or-A15/A17
Х ...while being sure the part isn't catching on the back part of A8/A14etc.
аааааааааааа
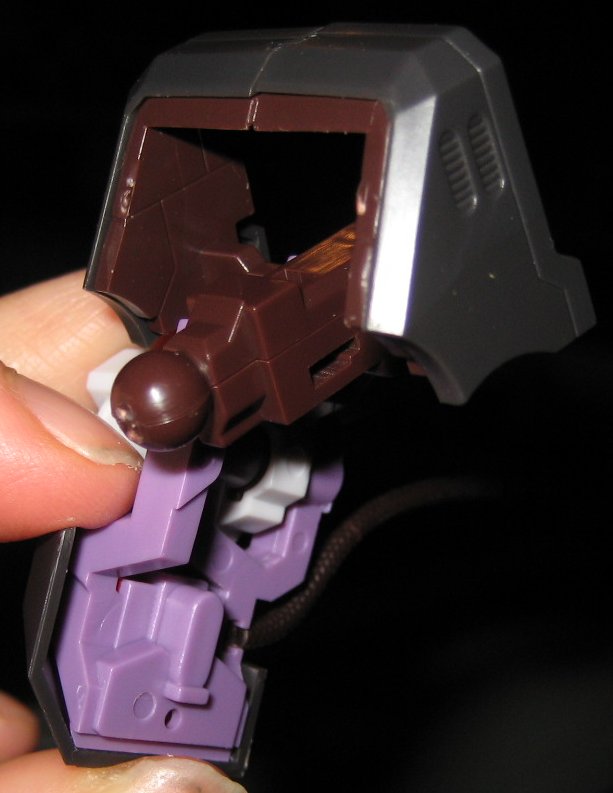
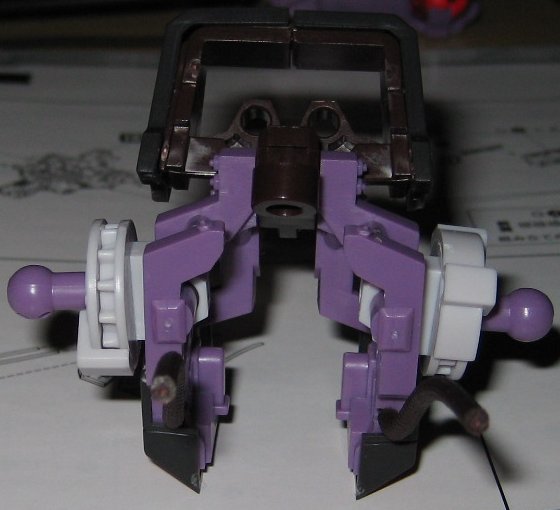
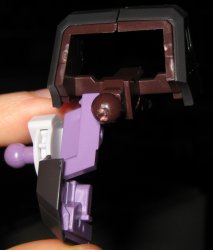
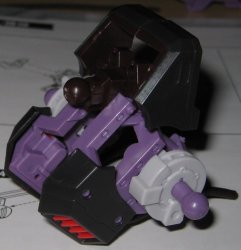
When attaching the shoulder-joint to the middle/hips, you may want to do it with the cockpit/Core segment out. It lets you get good leverage on the peg. :D
аааааааааааа

You also get to see Heartless Geno Saurer. xD
аааааааааааа
Tempted to glue this piece on, it doesn't want to stay-
аааааааааааа

Incidentally, C1 pops right off B8 with a little nudging, so it wouldn't be difficult to glue later.
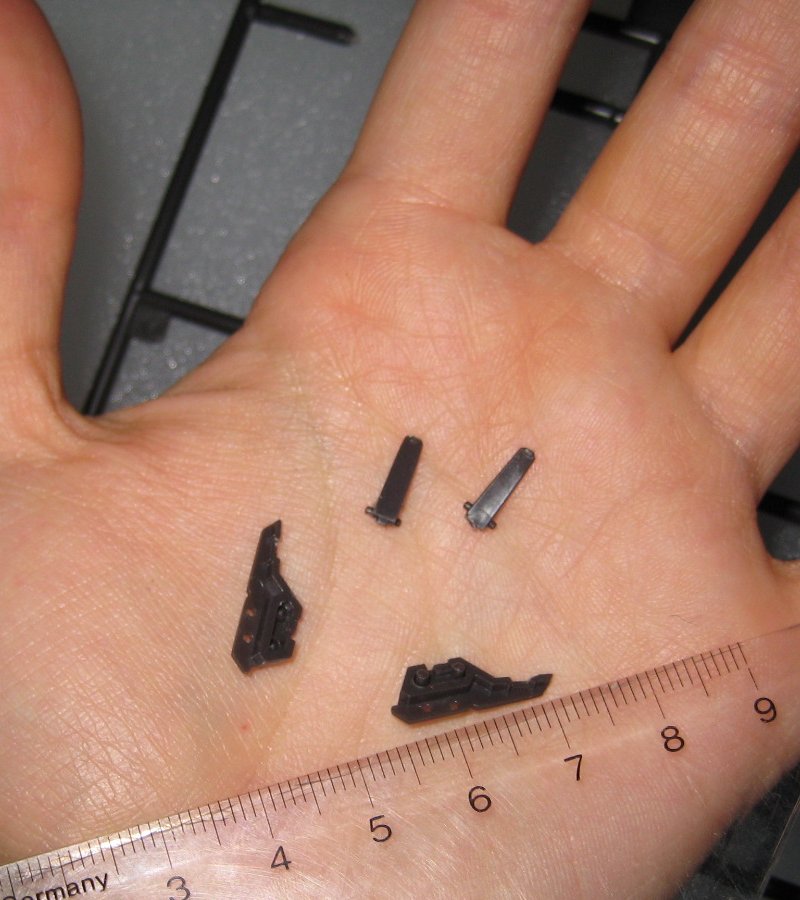
AHHH TINY PARTS
аааааааааааа

[03:26:16] <Tal|GenoSaurerAssembly> you know what else is terrifying? the tinyness of these pieces I'm working with now ;_;
[03:27:23] <AlariaKitten> What are you playing god with, Tal?
[03:29:54] <Tal|GenoSaurerAssembly> the vents in the Geno Saurer's tail
[03:31:18] <Tal|GenoSaurerAssembly> this vent I just assembled out of five parts is 1 inch long
[03:31:49] * TMH sets up a giant fan next to talec's desk
[03:31:56] <Tal|GenoSaurerAssembly> ;_____;
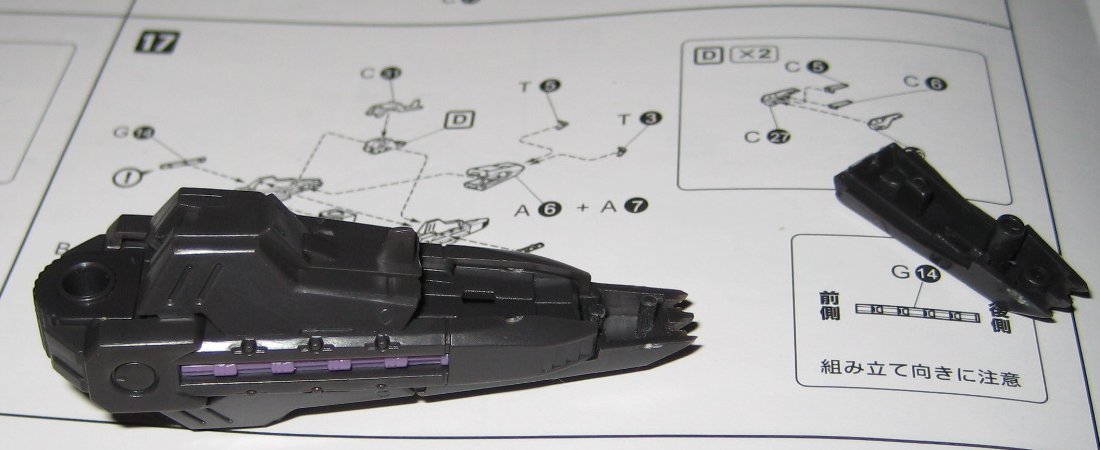
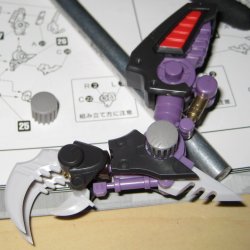
For the last tail segment, attaching A6 & A7 separately is considerably easier than trying to attach them together (which is what the instructions say):
аааааааааааа
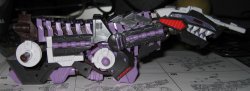
I got to the end of step 17, and realized with horror that T5 was missing! NOES! But I rifled through my trash and in the third baggie I pulled out, THERE IS WAS. It was amazing.
аааааааааааа
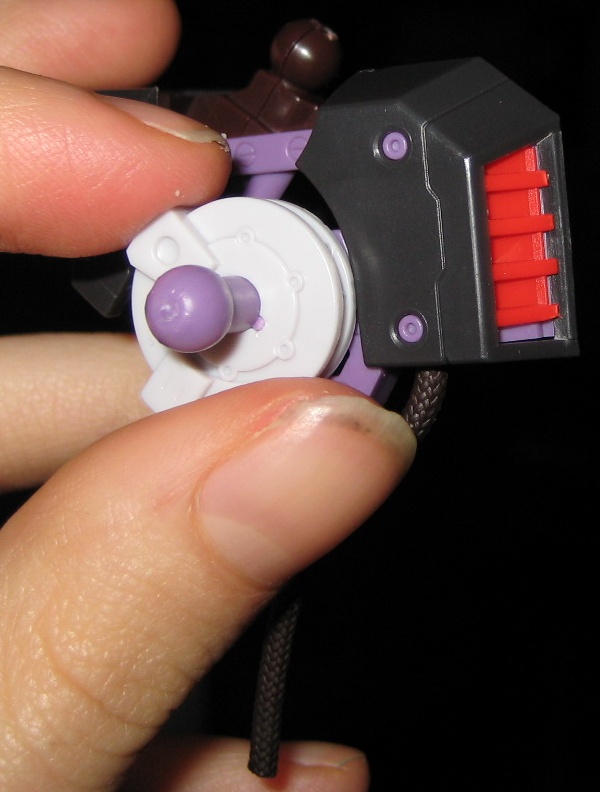
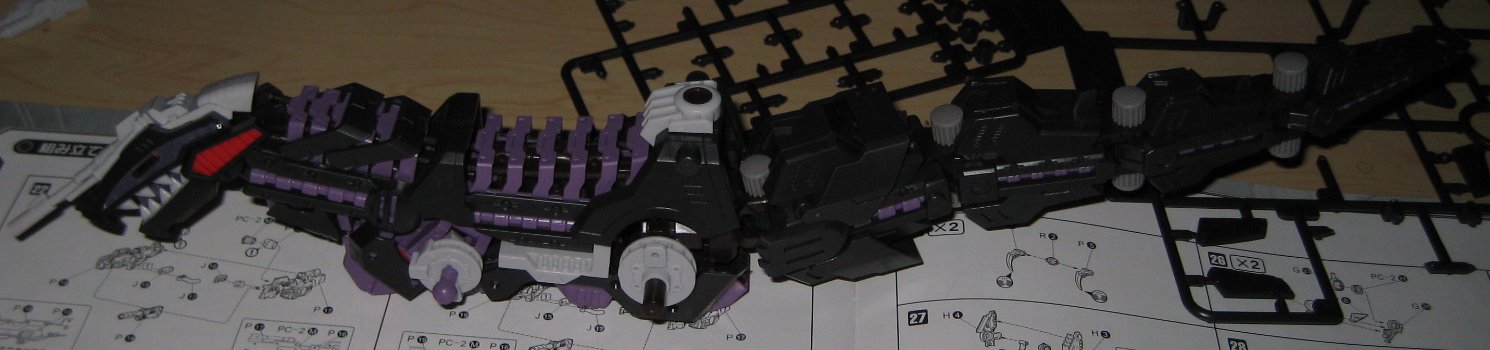
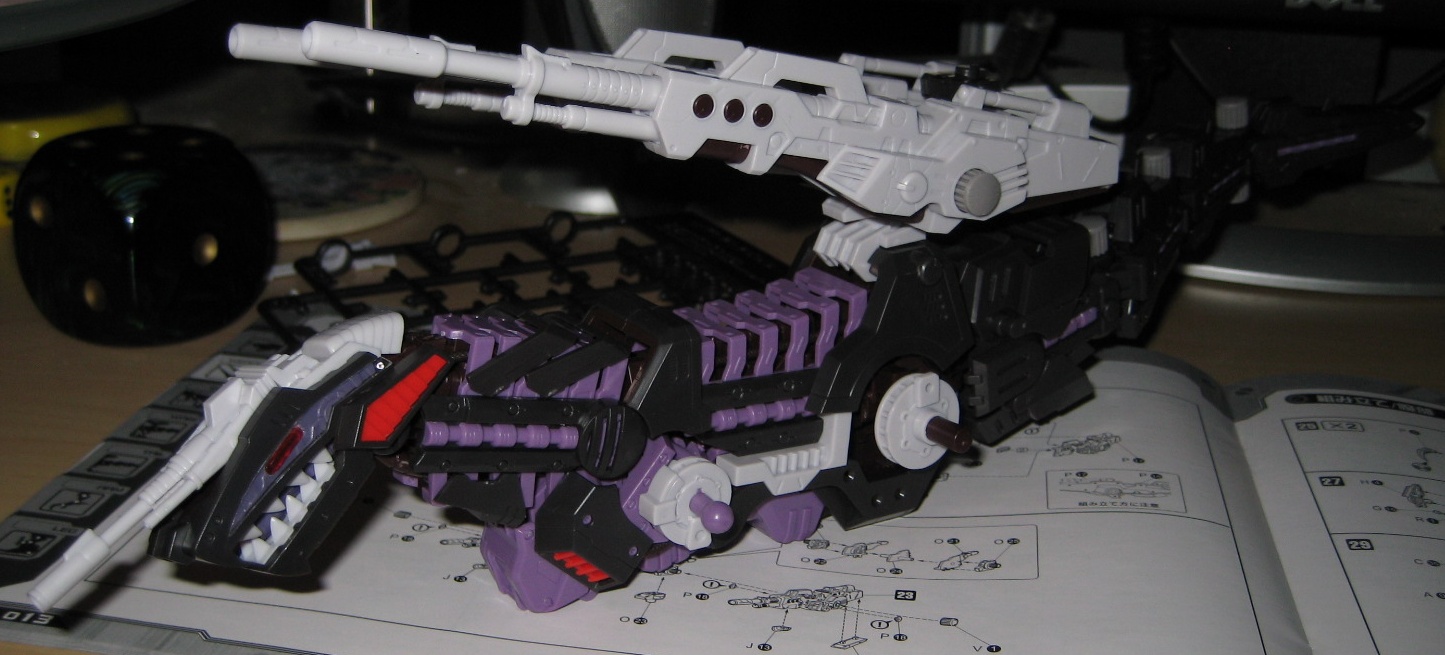
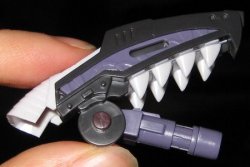
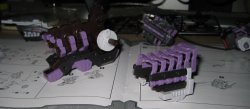
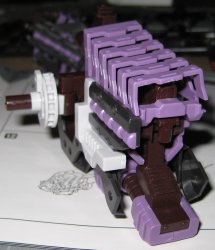
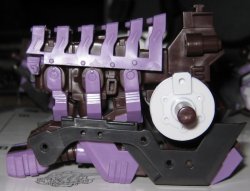
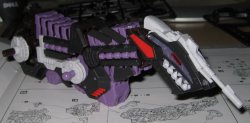
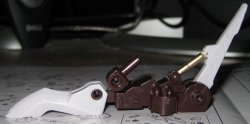
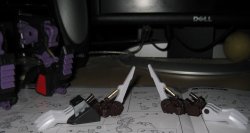
50 minutes just to do the gun:
аааааааааааа
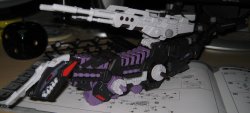

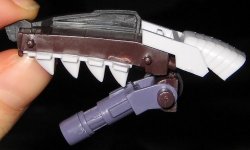
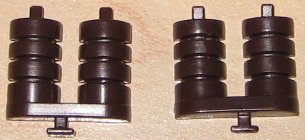
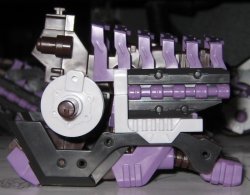
These claws are really sharp.
аааааааааааа
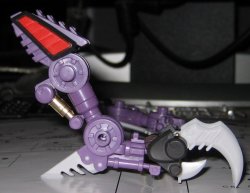
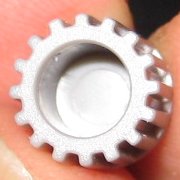
Incidentally, I just noticed that the caps have no groove like the Shield Liger did.
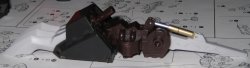
аааааааааааа
Also, that highly informative picture was the 1000th photo on my new camera. O.o
аааааааааааа
Foot with no armor on it.
аааааааааааа
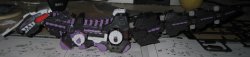
Comparing a mostly-complete foot to an unarmored foot. (also legs in the background)
аааааааааааа
Foot-lock down.
аааааааааааа

аааааааааааа
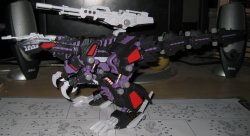

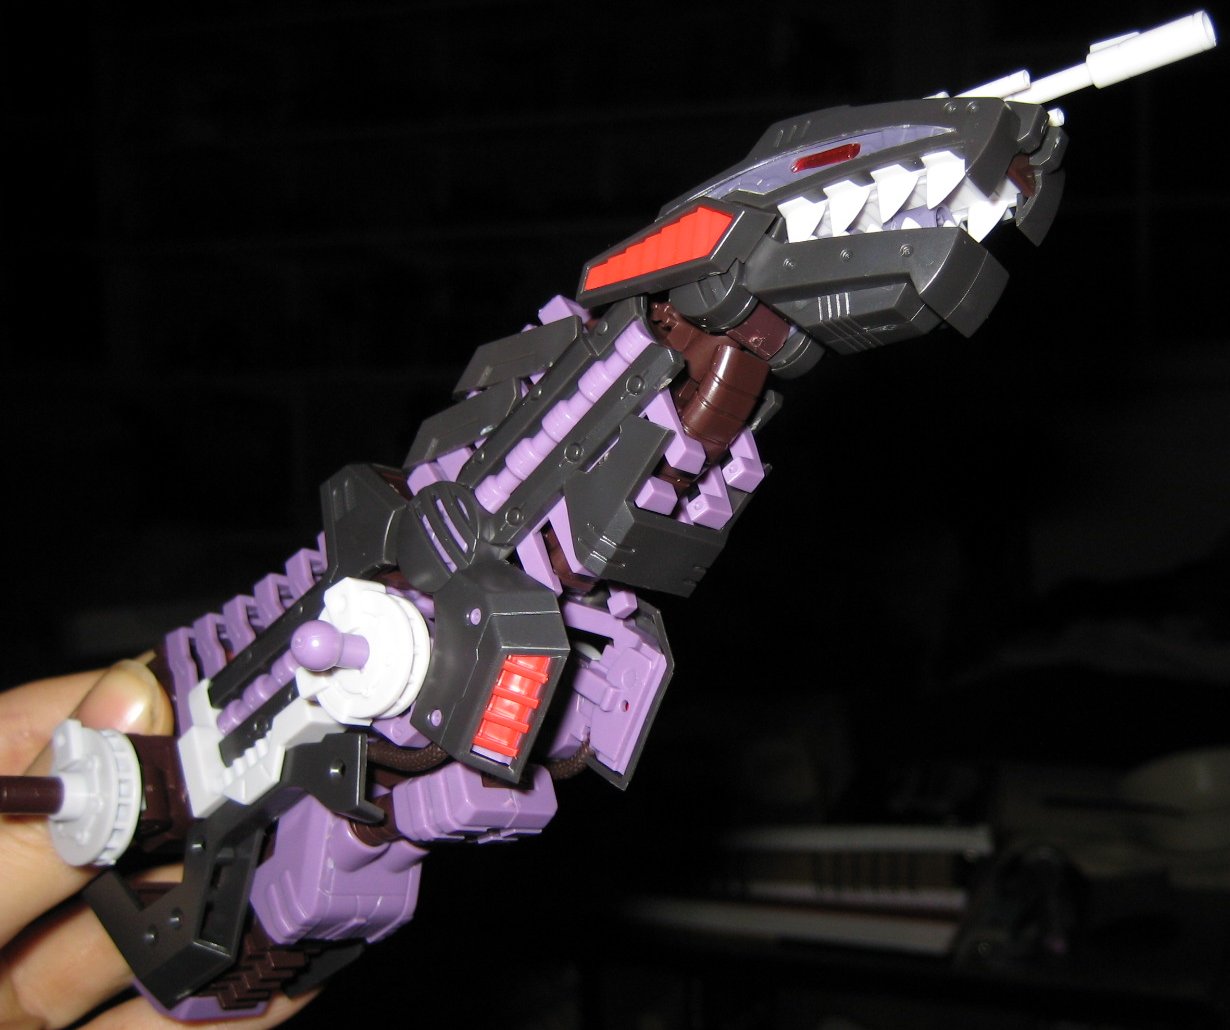
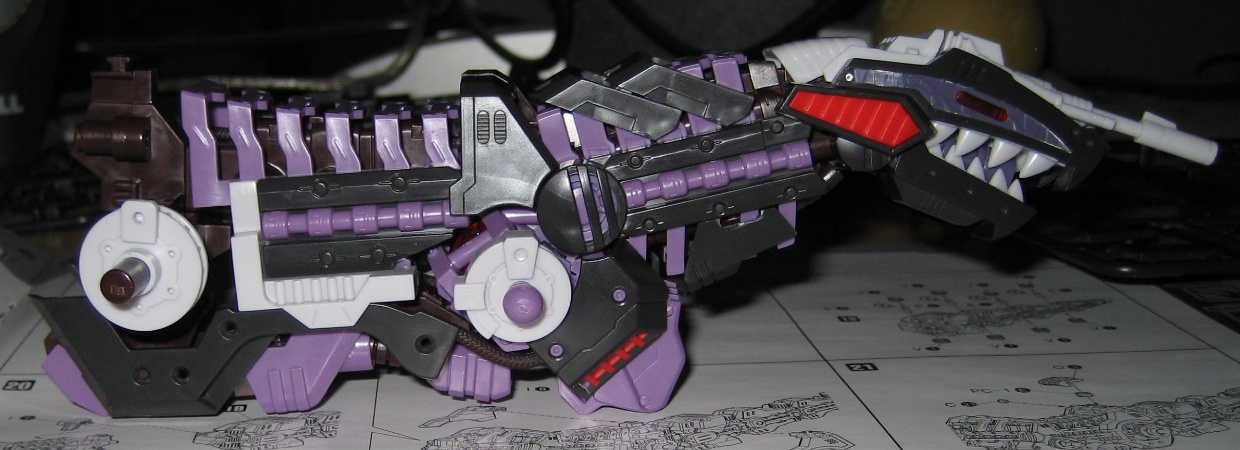
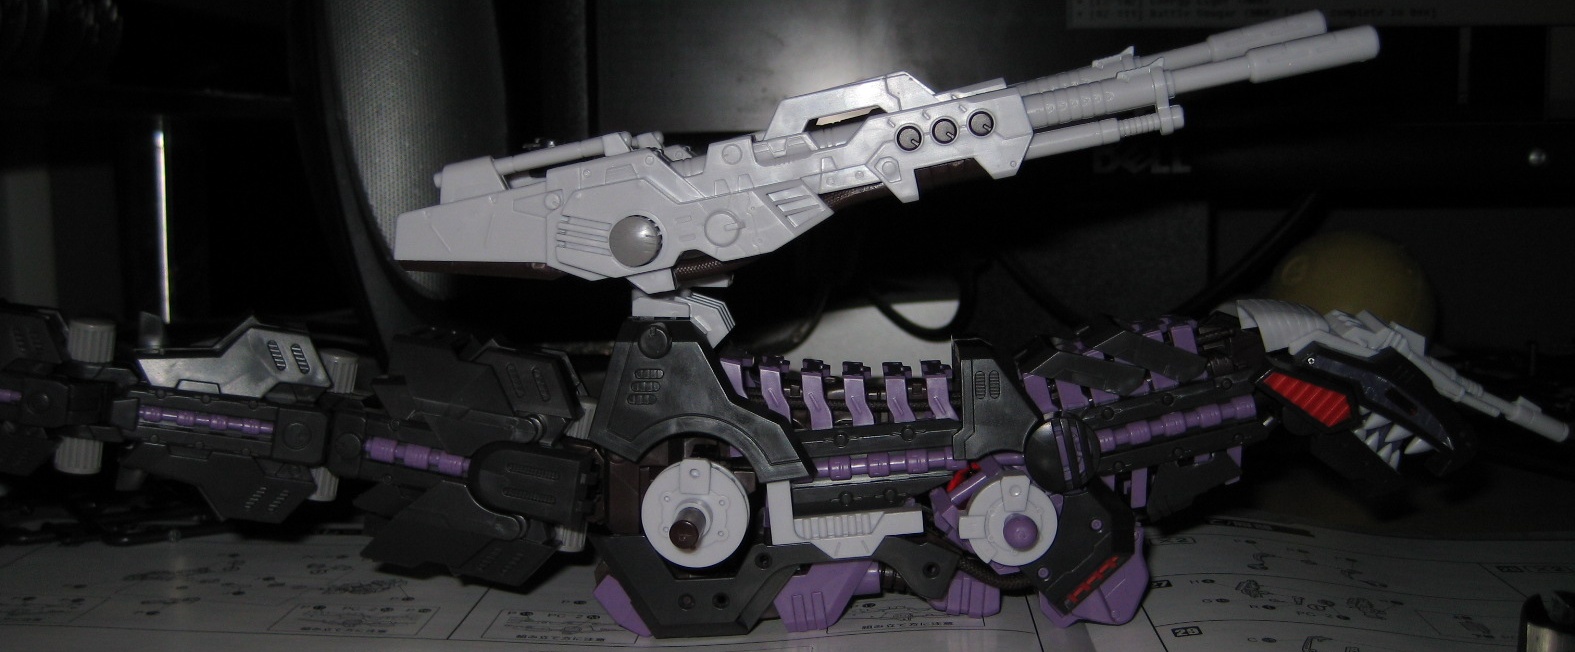
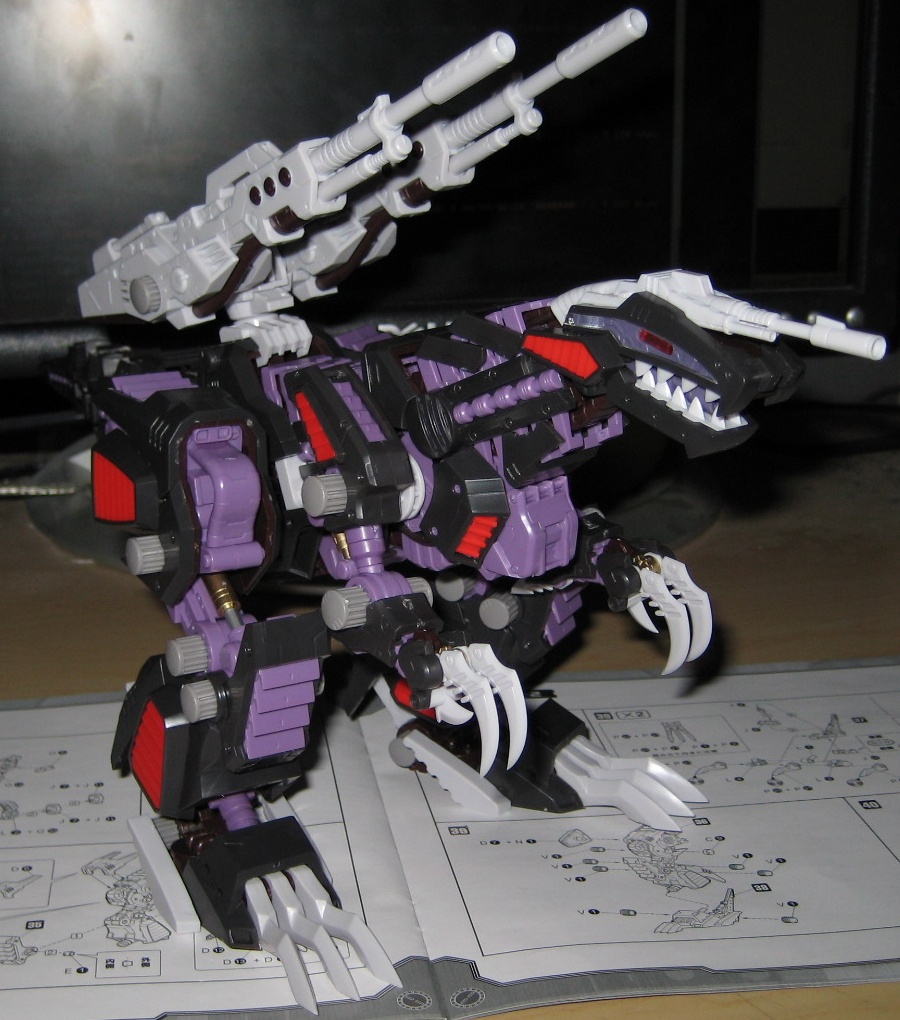
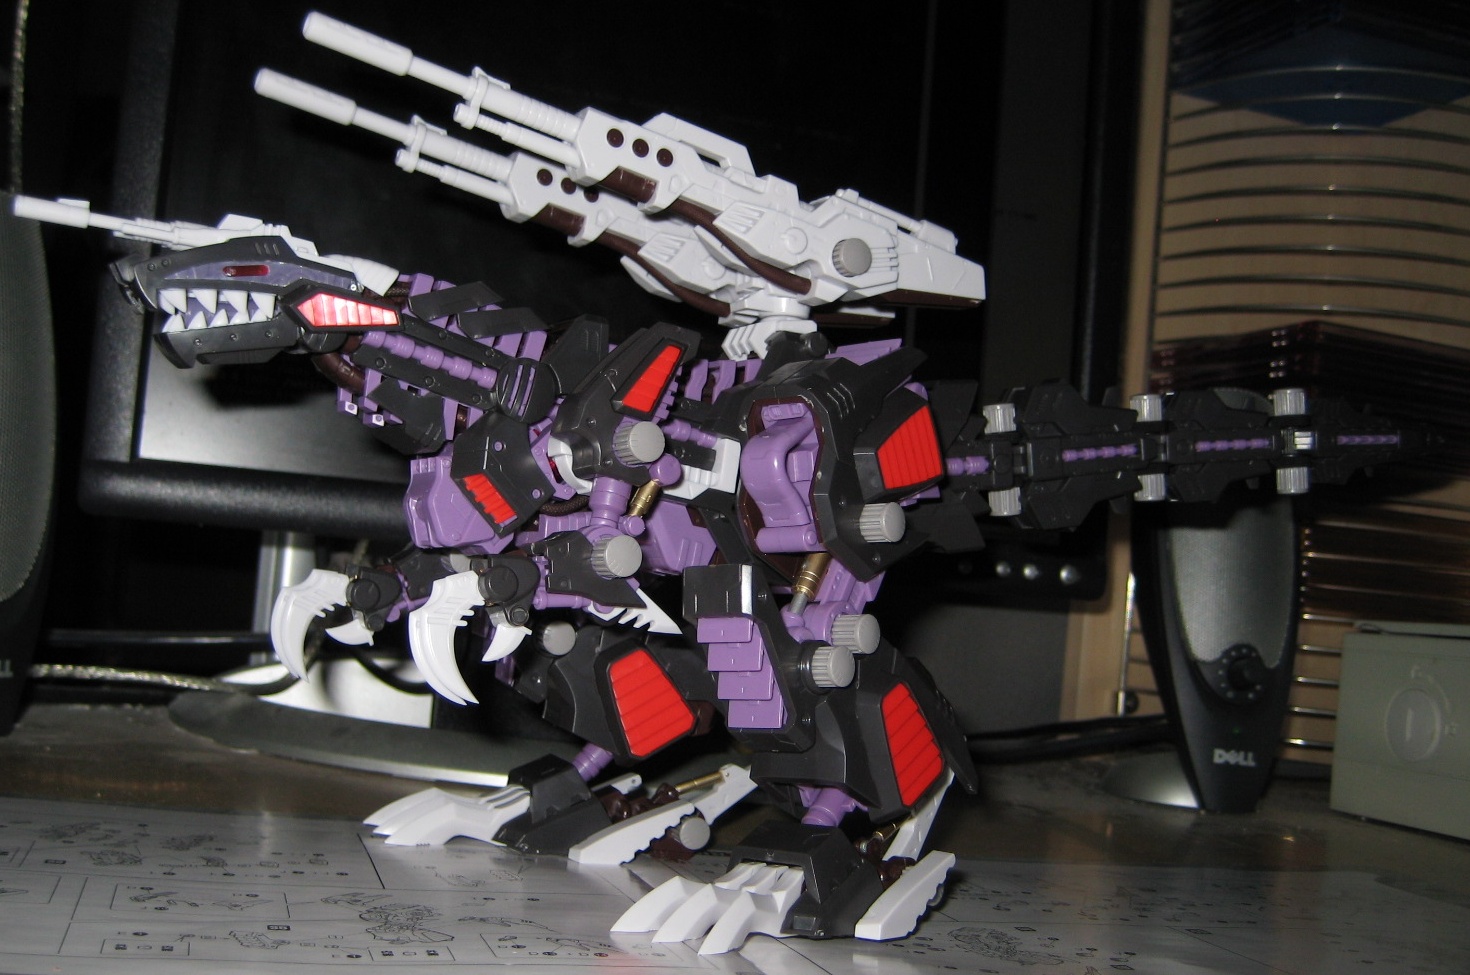
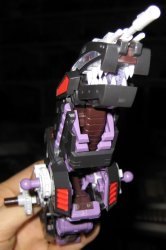
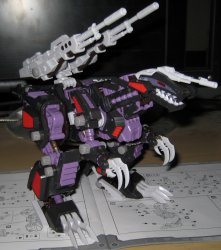
DONE!
Overall! The Geno Saurer is a gorgeous machine. ;}
However, this kit's even creakier than the Shield Liger, and kind of difficult to pose. Which is to say, you can pose it in many ways, but it's kind of easy to pop off parts by accident. Especially, the upper-leg armor comes apart fairly easily (fixable by glue), and the little part that holds the foot-lock piston pops out -very- easily (not fixable by glue). The back cannon comes off very easily as well (fixable by glue), but then, so did the original kit's. >_>;
Also it's kind of strange to see that there's seriously only one cylinder supporting each leg. I mean, what? I'll get photos eventually.
So, hmm. If you're a regular fan of Zoids or mecha kits, I'm not sure I'd recommend it to you (mostly due to the price).
But if you're a big fan of the Geno or tyrannosaur mecha, and/or are rich, go for it!
Home | Portal | Zoids | stardroidjupiter@gmail.com