Gil Dragon - Assembly and model review

The long awaited rerelease of the Gil Vader arrives, in new colors and seemingly a new mold. (Gil Vader's Wikipedia entry mentions that its mold was lost or irreperably damaged, which could account for minor differences between the 'Vader and 'Dragon.)

If you want to use any of these photos for manips or reference or image galleries or 'hey this is a cool Zoid check it out', go ahead. Uploading to your own server first is preferred, though.

Assembling
I got the Gil Dragon for Christmas! Yay! I also got a Zaber Fang (I did not have one before), Dark Horn, Gravity Wolf, and Battle Cougar (my only duplicate Zoid from this bunch); all NAR (New American Release). Naturally, the 'Dragon is the first I assemble. :3

            
It's a box!! Also, it's a big mess on my dining room table, most of which will be shoved to the near side so I can work.
And yes, I do like bringing other Zoids to 'watch' the assembling of new ones.

            
I got all the frames spread out and the caps cut off their sprues at 1:13 PM (this photo was taken slightly before then); then I had to go find batteries for the two battery cases. One AA battery for the motor (retooled from two in the original Gil Vader, I hear) and two AA batteries for the second box, which powers the lights. I wonder why they didn't just do away with one of the battery-boxes altogether and just have one, like the Geno Breaker or Berserk Fury...?

            
It's half a body! The front is pointing to the left.
You can clearly see how the jaw-moving mechanism works here, as well as the gears that were a major gimmick in the Gil Vader's original run. (The Battle Cougar -- which was named Storm Tiger at that time -- also has a single gear 'port'. The Gil Vader/Dragon has three.)

            
It has a huge tail! It'd be a bit over 1 foot long if it were straight.

            
It's half a body, with the tail attached this time! I had to hold the model as far from me as I could and hold the camera above and behind me in order to get both the body and tail in the photo.. ^^;
See the gear-rod sticking out from the small 'mess' of gears below the blue box? Notice how it wasn't there in the third photo? Yeah, I had forgotten to put it in. *facepalm*

            
Direct view of the properly assembled half-body.

            
Progress a bit later. Body and tail are all together.

            
Side of the tail, near the base.

            
Tailtip. The gold spines-part fits into place easily and holds well.

            
I like its back.. ^^;

            
Wings next!

            
I love the plastic the sawblades and head-lens are made of, it's so pretty. <3

(Meanwhile, my dad assembles his Star Wars Sandcrawler lego kit: He finished it an hour or so after I finished the Gil Dragon)

            
Wings done! As you can see, two of the wires+lights leading from the second battery case are put in the wings, to light up the sawblades.
Strangely, the instructions say to place the saws so that the teeth point away from the direction they spin. (It's also contrary to the way they are on the box.) I partially disassembled the wings to switch blades a few days after completing the 'Dragon -- unless your coordination is really bad (worse than mine :p), it's pretty easy to swap blades without having to remove the wings.

            
It's starting to look like a Gil Dragon...! :D

                  
A couple shots of its left side...

            
Top with the wings and second battery pack attached...

            
Half a head! The way to get the eye-lights to snap into the top teeth wasn't immediately obvious to me; you just need to push it in with force. ^^;

            
Legs!

            
Almost complete! Just have to attach the other half of the head...

            
Completion! Here it's sitting on my Zoid table (once I get all the paper off it) in my room.

The head pieces really didn't want to join together, and even now there's a bit of a gap at the front of the snout. It could be glued if I wanted, but I don't like to glue my kits. xP (One might also want to paint the inside black, so the blue light within only comes out through its eyes, instead of its whole head. Common issue with anything light-up.)

            
I suck at dark photos, but have a photo of its lit eyes, anyway. :3;; (The thumbnail looks better than the full-size photo, in my opinion...)

Misc photos


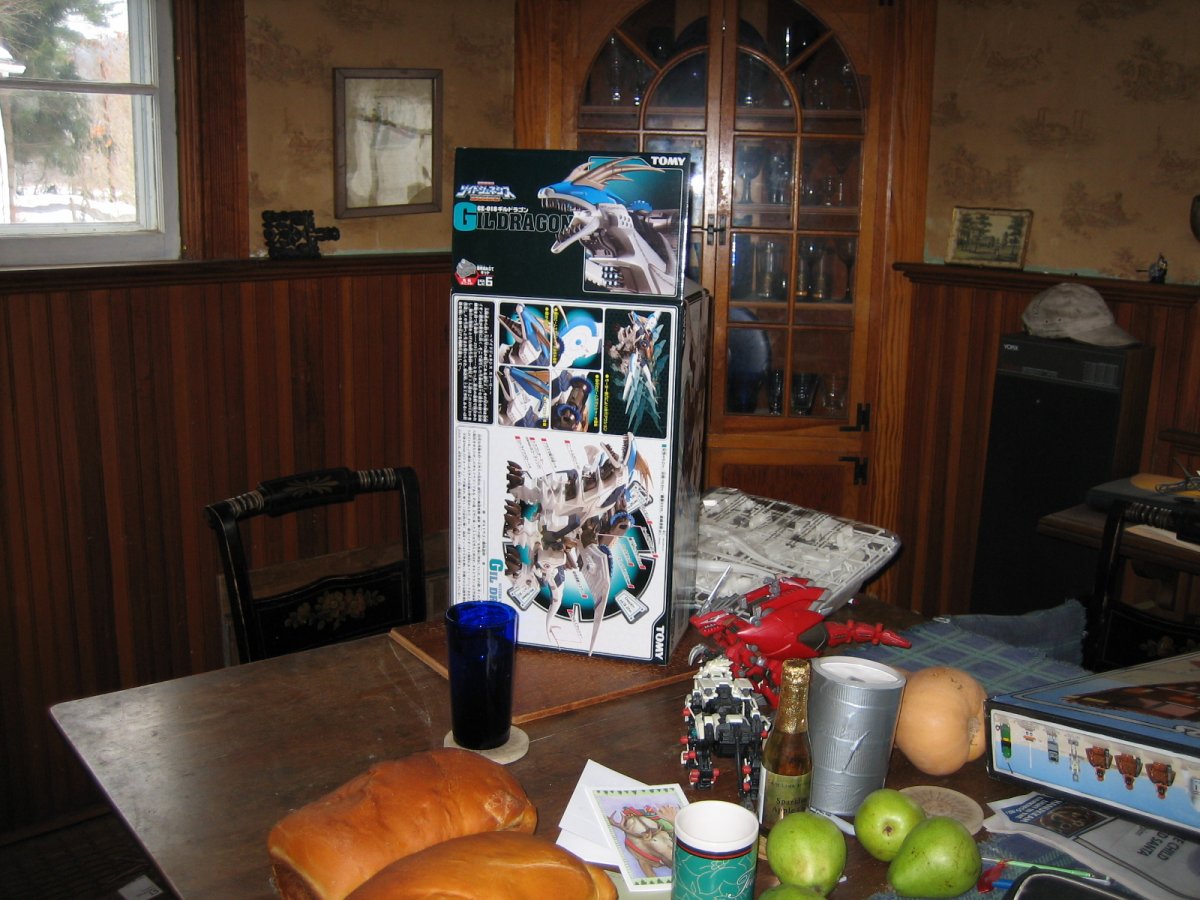
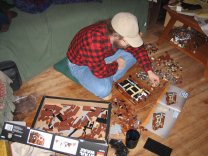
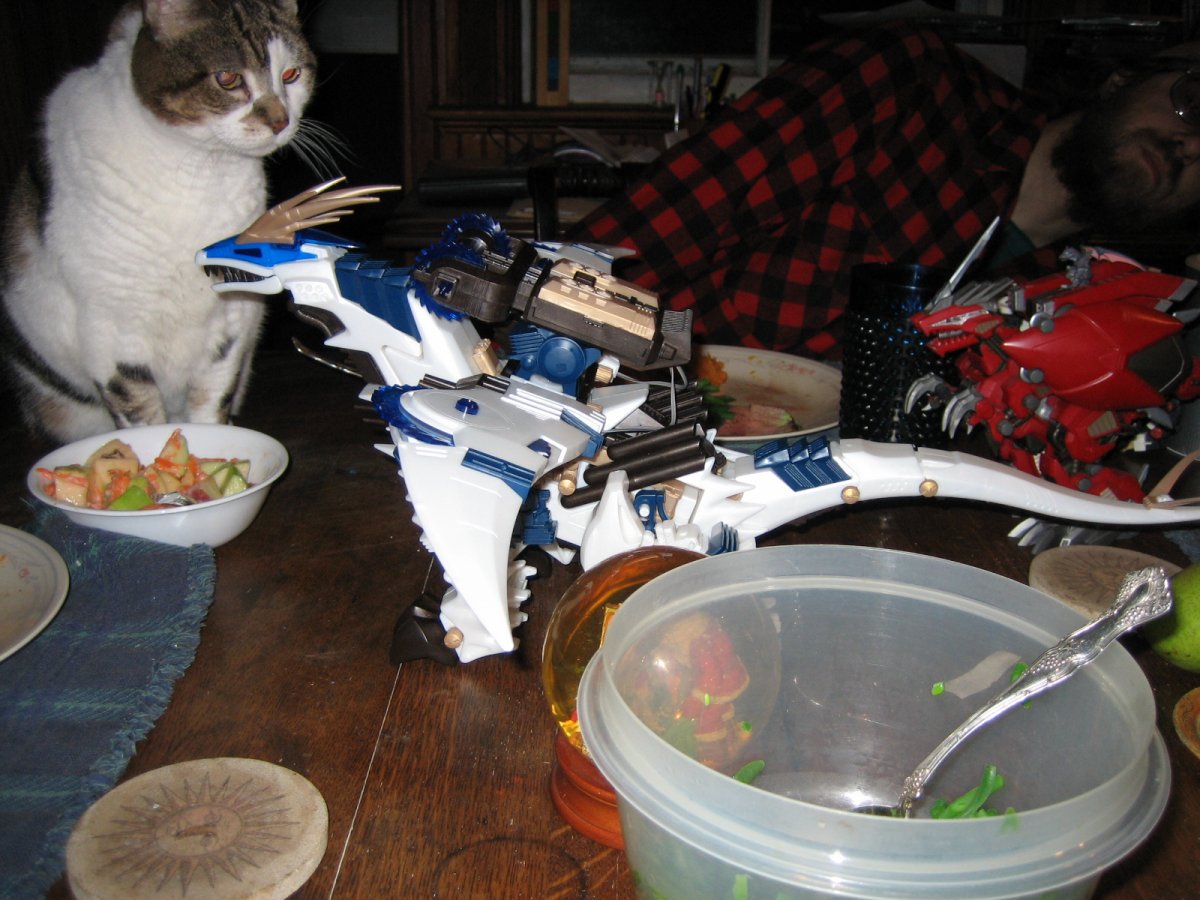
At Christmas dinner... along with one of my cats, Wombat, my Geno Breaker, and my dad attempting to avoid the camera. ^^;

Size comparison with a Liger Zero.

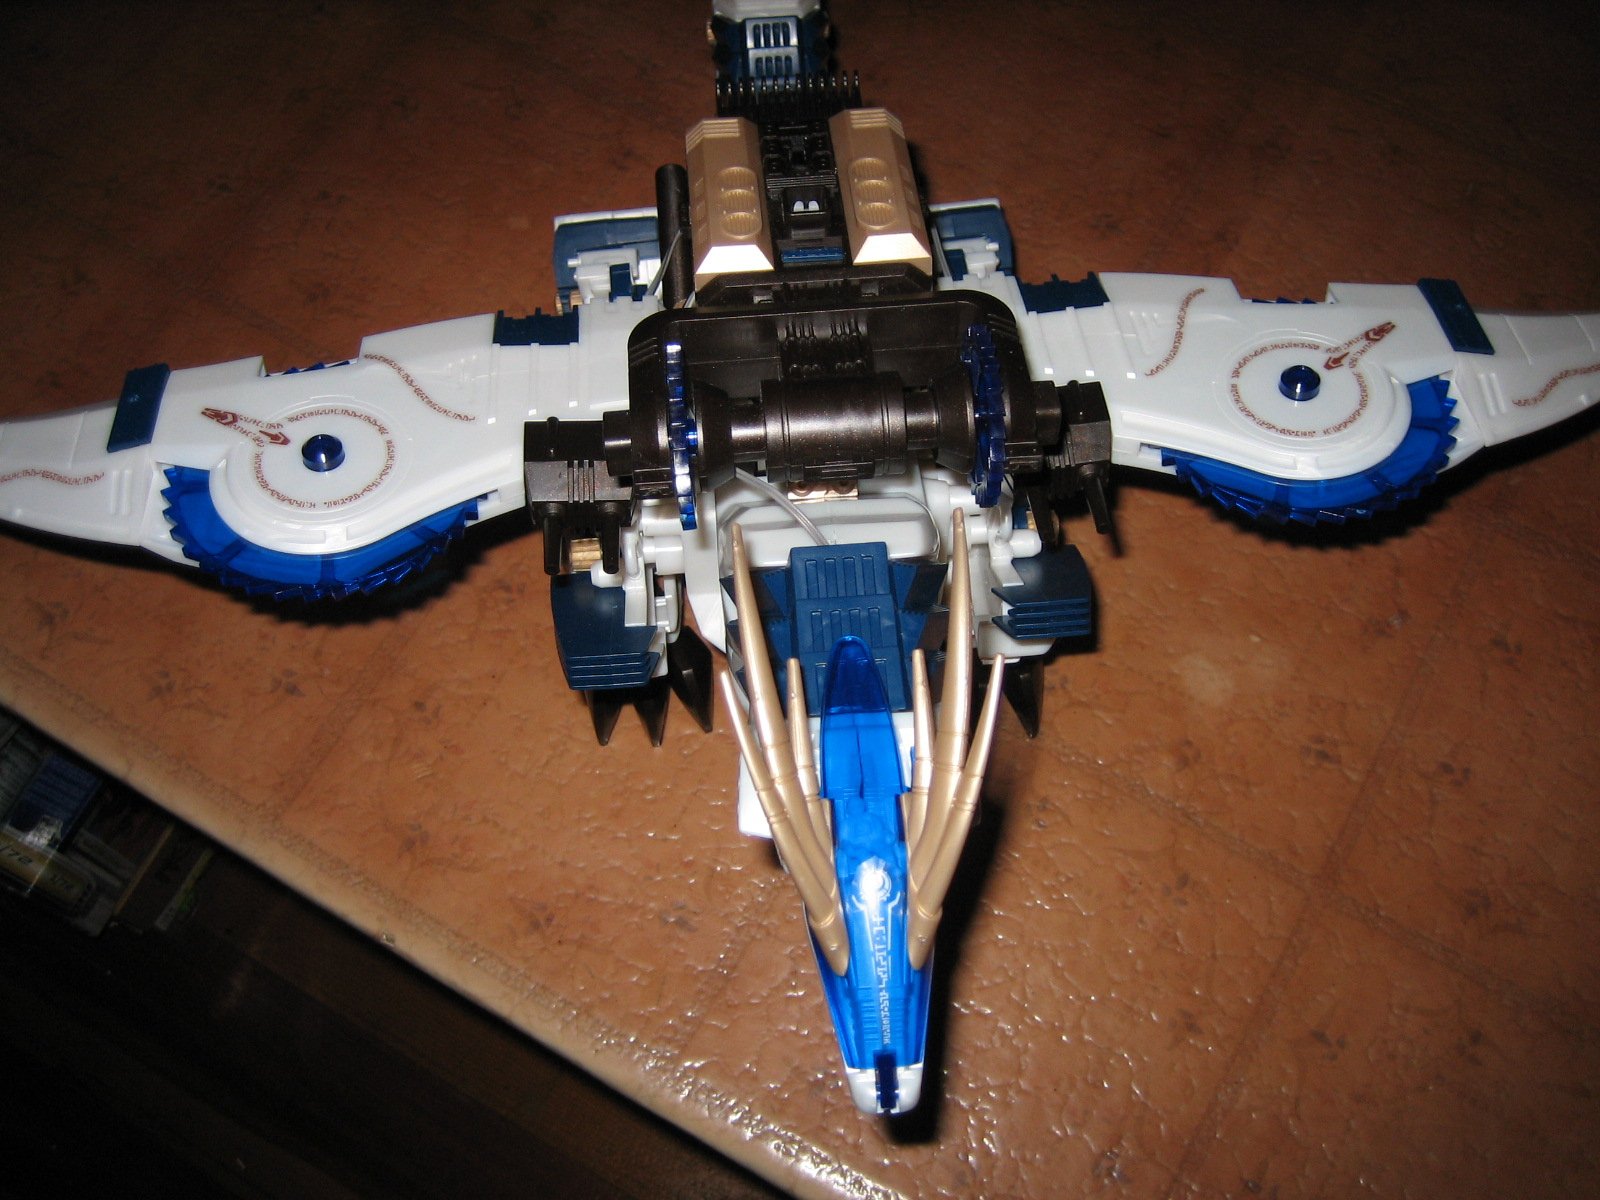
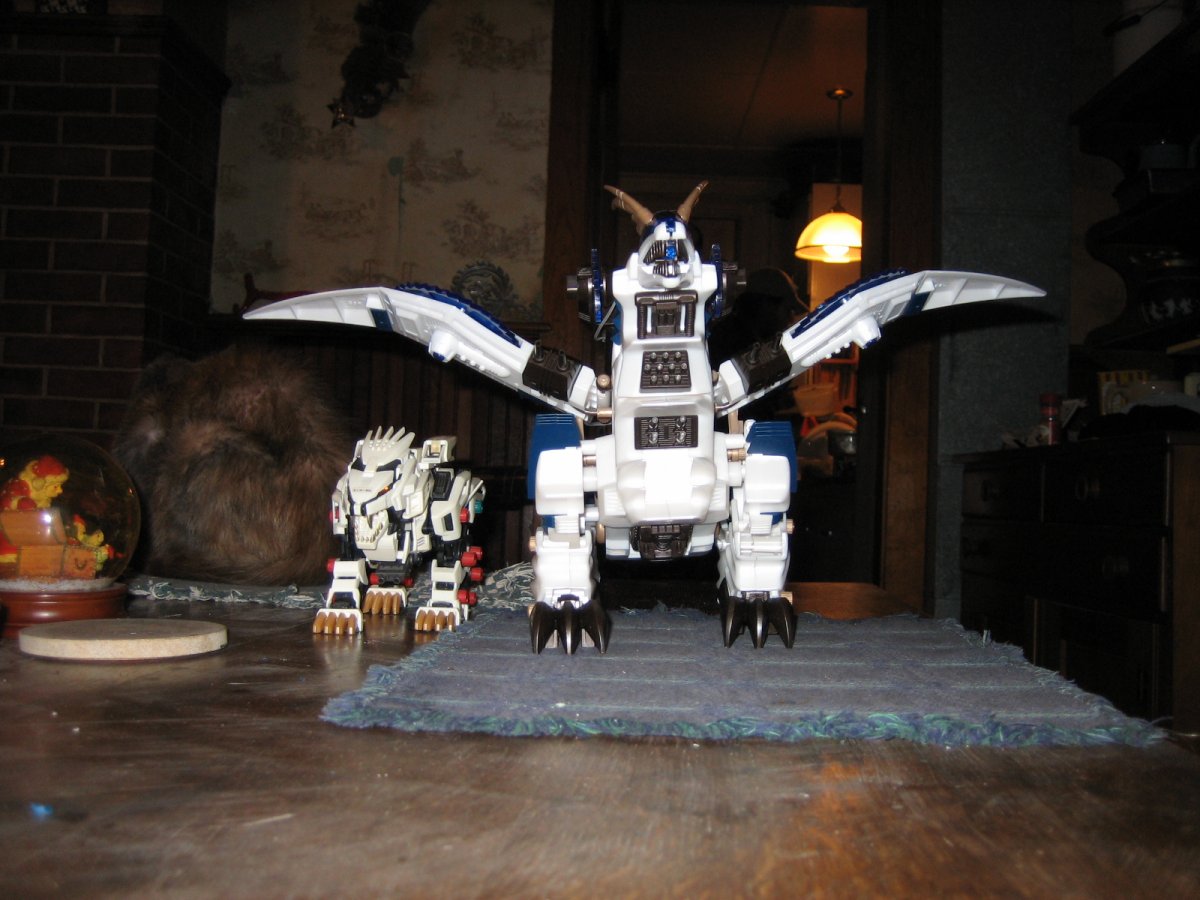
From the front, with my other cat, Spider, in the background. (highly useful information)

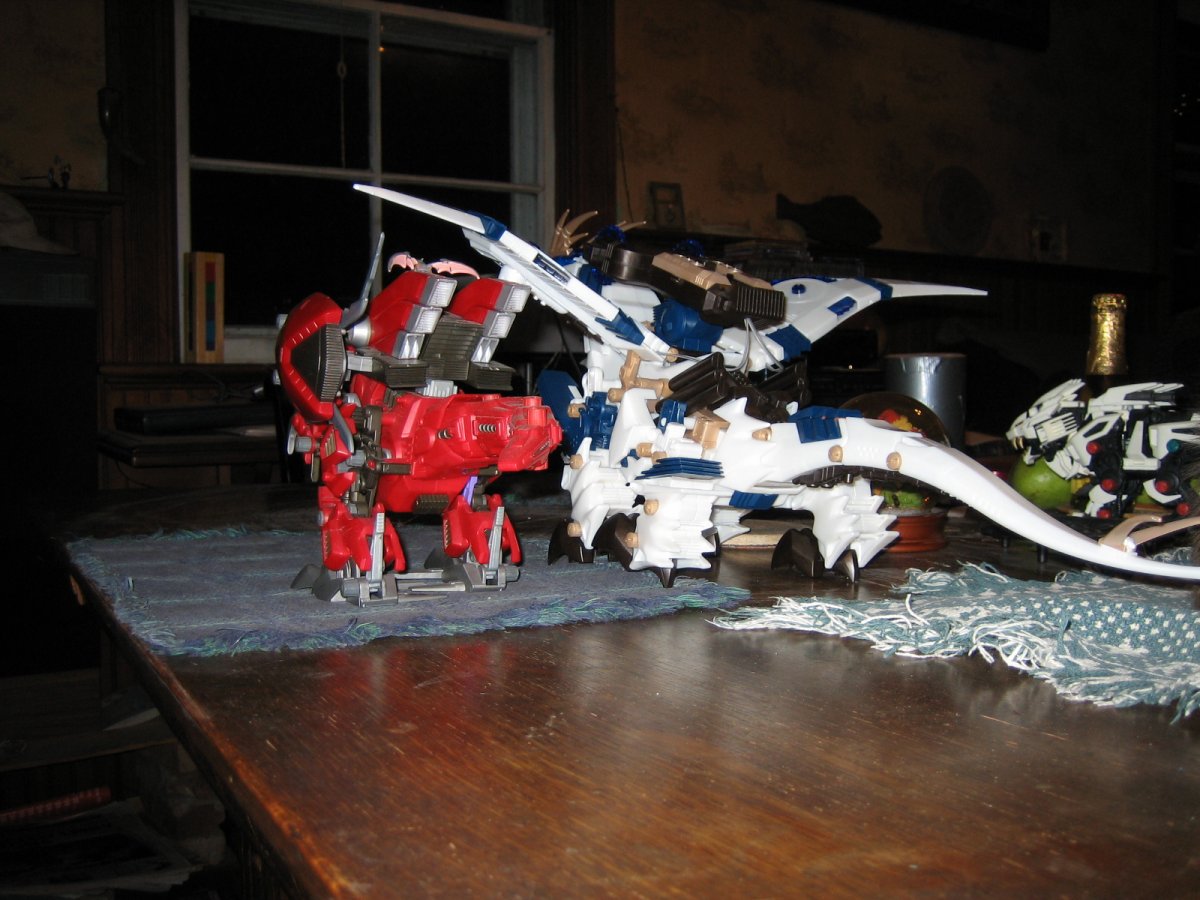
Size comparison with a Geno Breaker; from the back.

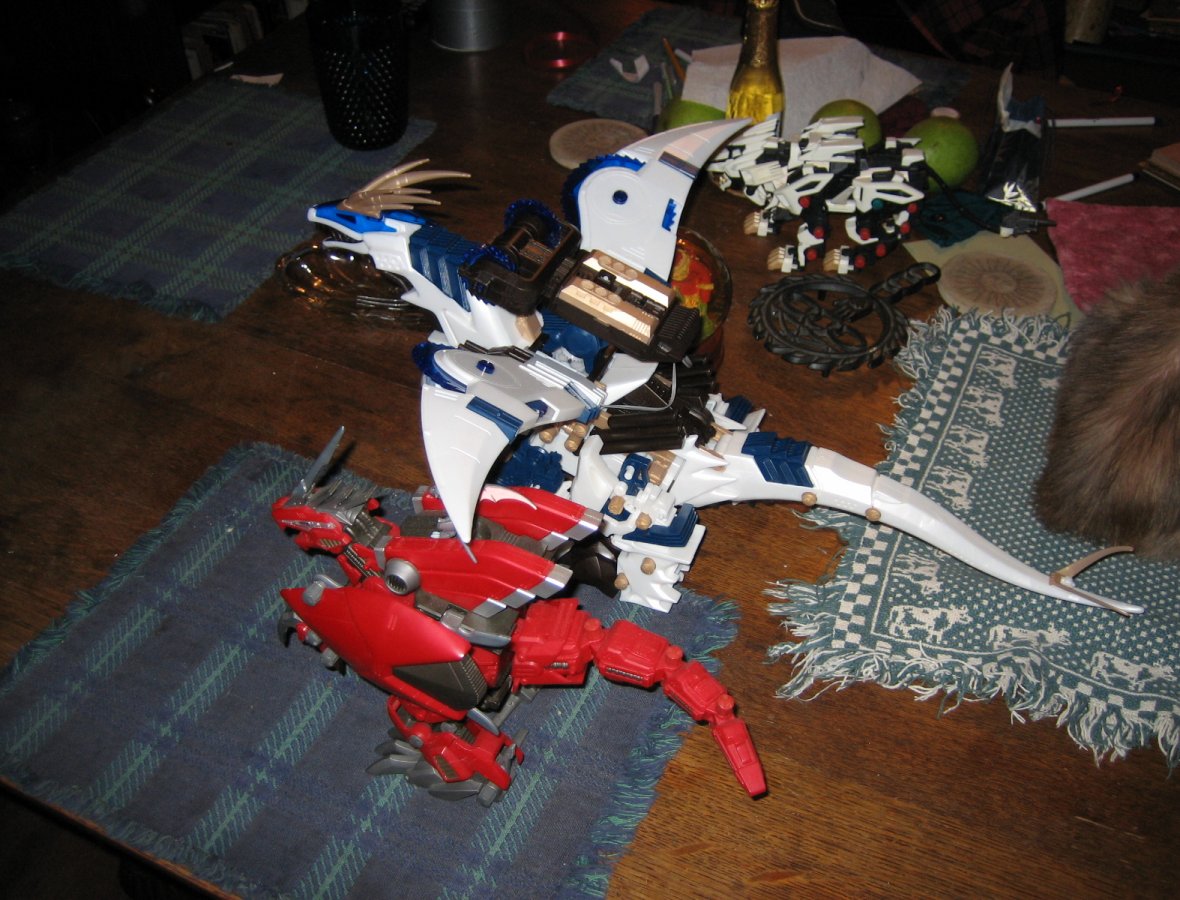
Size comparison with a Geno Breaker; above.

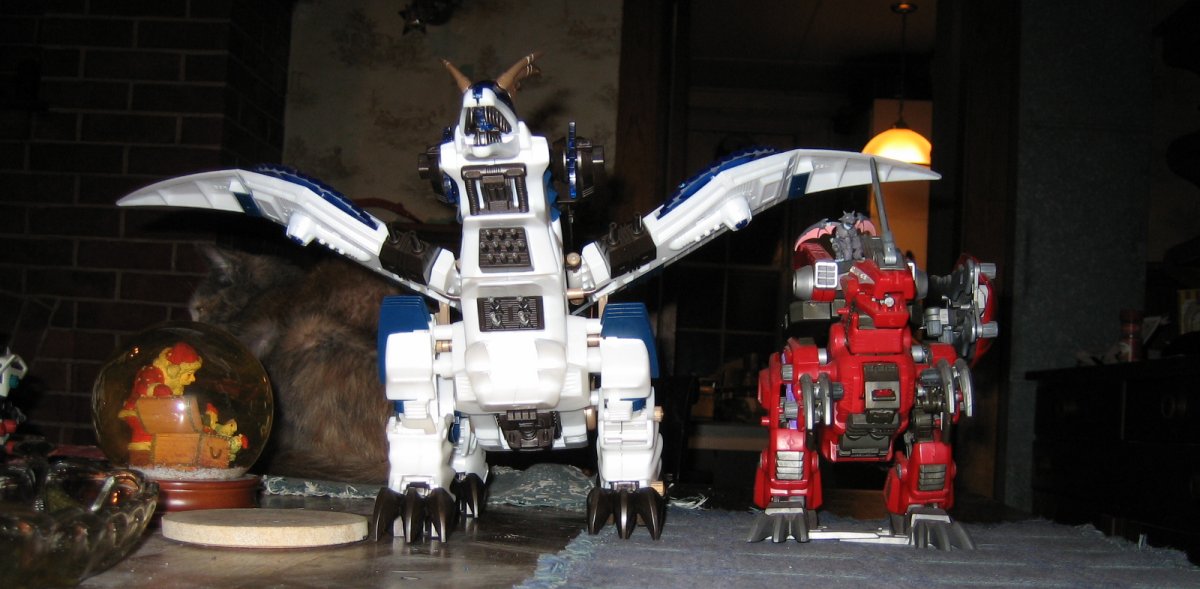
Size comparison with a Geno Breaker; front.

Assembly Review
It's a giant Zoid (24 inches long, 21 inches wide, 8.5 inches tall), but it's suprisingly easy to construct, and the sprues of the pearly white plastic that makes up most of it yield easily to an X-acto knife -- but, as far as I can tell (having only had it for four days), is not so weak that it breaks easily. (*coughGenoBreakercough* ;_;)

For parts, you get eight sprues/frames of parts, three metal shafts with plastic gears attached, two springs, a white pilot, a pair of gold horn-things (the type you see on the box), the motor, the backpack (battery box/small saws, three gear ports, three wires with lights on the ends), and two sprues of gold-molded rubber caps in two different styles. (24 'A' caps in the same style as those used for the Shield/Blade Ligers and Dark Spiner; 4 'B' caps in the same style as the Salamander/Pteramander's.)

You also get the Gil Dragon's original horns on sprue 'D', molded in gold plastic like the rest of it.

In paper stuff, you get the instruction manual (27 pages), the decal sheet, and a survey sheet.

Its giant body, tail and wings make it pretty unwieldy to move around as you're constructing it, so that'd be a problem if you don't have a large enough area to spread out in, but.. it's not like that detracts from its awesome. :)

As I noted in the first section, the instructions put the sawblades in the opposite wings they should be in, but that's easily fixed, even if you didn't catch it during assembly.

Other than that, the instructions are pretty simple to understand, although some steps may warrant close examination to make sure you're putting the right peg in the right hole and such. You don't need to know any Japanese, although there are two kanji that are always good to know when working with imported kits -- 上 (above) and 下 (below). 前 (front) and 後 (rear) may also be helpful.

My kit didn't have any molding errors and was overall a joy to assemble. X3

Decals Application & Review
Instead of your average sheet of affiliation decals and cautionary signs, you get a large (6.5x4.5 inches, approximately) sheet of strips of Zi lettering. Their brown color goes with the pearly white very well, and in my opinion enhances the Zoid's appearance quite a bit. However, it would be nice if Tomy made their decals out of a plastic that wasn't so affected by static electricity, but perhaps it's more my fault for being so staticy. ;)
If, like me, you're the type who doesn't like to add decals as you build (the instructions tell you where to put them as you assemble), it's actually very easy to add them after it's completed. Even with my static electricity troubles, the two long strips along the side -- the ones that looked like they'd be the most challenging -- went on easily without having to remove the wings or anything.

If you place all the stickers according to the instructions, the only parts you won't be able to take apart is the tail.. though that means you can't take apart the body, either, since the tail parts hold it together.

One oddity: the 'O' and 'R' stickers (placed on the lower-back leg armor) seemed to be labelled in reverse. The instructions tell you to put 'O' on the left leg, but the box photos show it with 'R' there, and it just doesn't fit in place as well as 'R'. I followed the instructions anyway and got it to work decently, but it's your call which one you want to put where.


That last photo is the Gil Dragon with the mini Gil Vader that comes in the 'Zoids Battle Series 6' collection of.. well, mini-Zoids.

Overall: 5 <3's out of 5. A couple instruction oddities are nothing against a classic mold and a beautiful mechadragon. <3

Here's another Gil Dragon review. It's got better photos than mine!


Home | Portal | Zi | stardroidjupiter@gmail.com